In this article we show how to quickly check product info using barcode scanner and update quantity.
Also, we recorded a video, and you can watch it on our YouTube channel:
Table of contents
- Case 1: Get information and update quantity
- Case 2: Change product info and print label in Odoo
- Case 3: Replenishment
- Case 4: Move products and put them in pack in Odoo
Case 1: Get information and update quantity
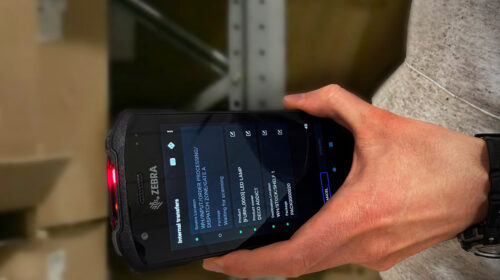
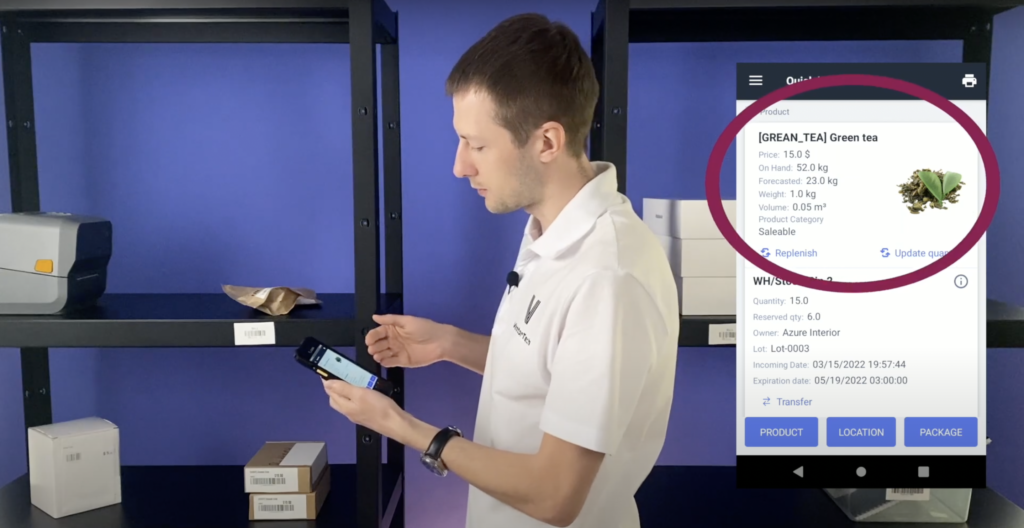
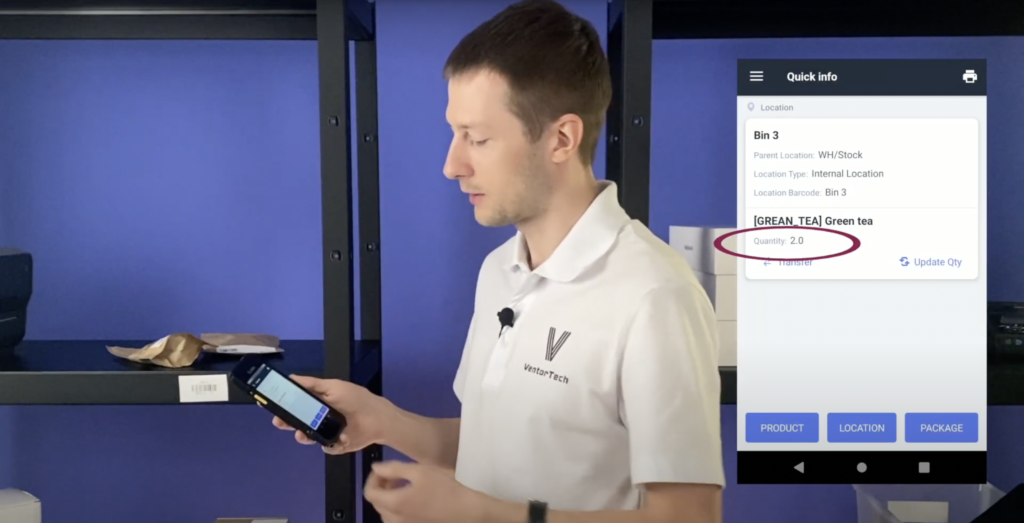
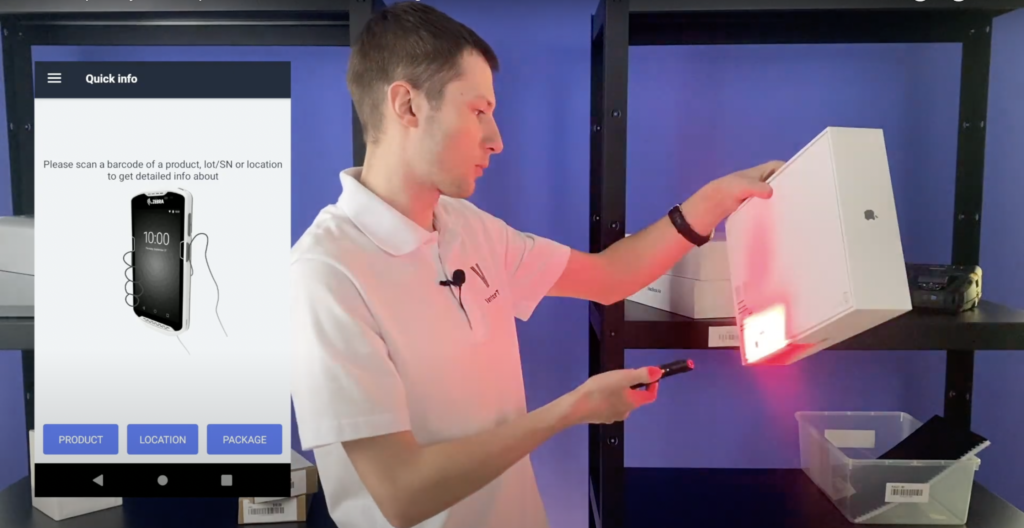
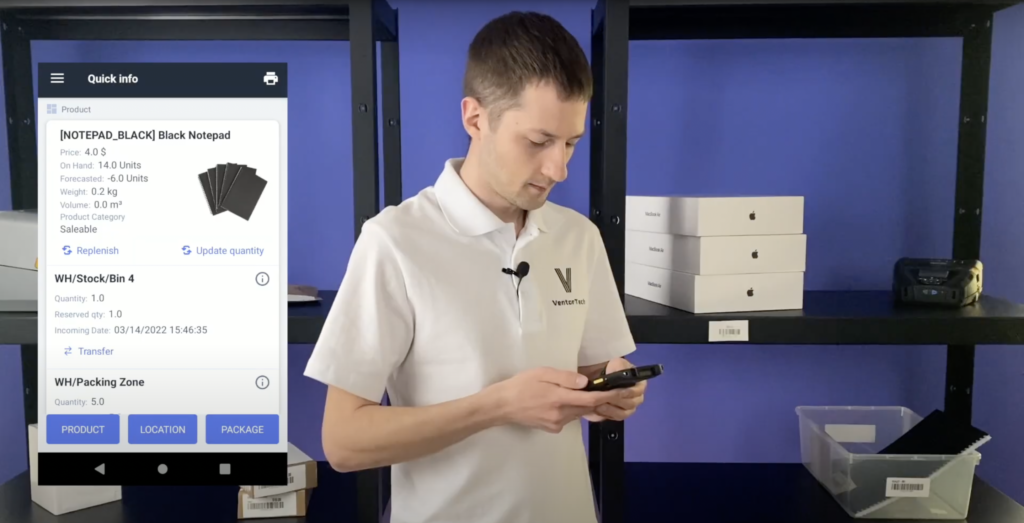
First of all we need to open the ‘Quick Info’ menu. And scan any item right now. For example ‘Green Tea’. We can see the price, quantity on hand, weight, volume and etc.
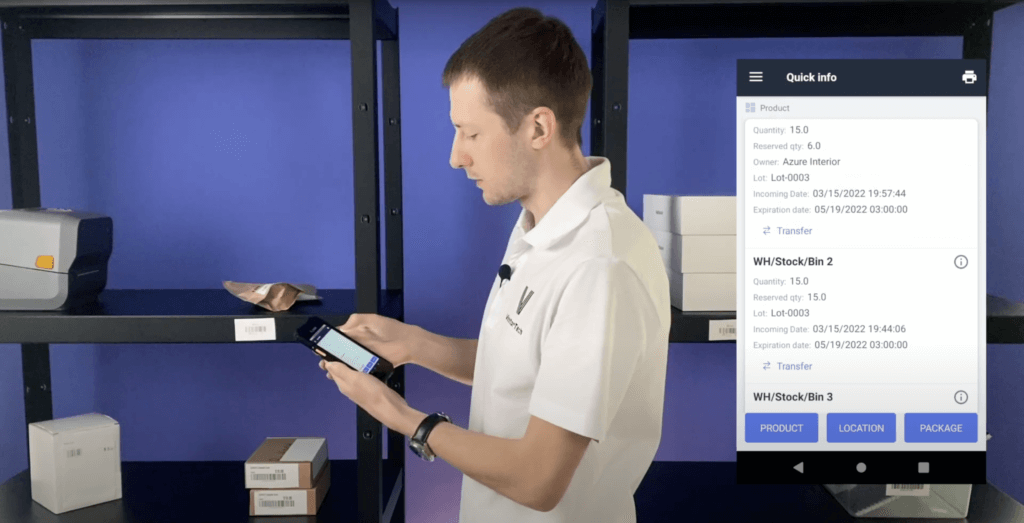
Below we see where this product is stored, its lot numbers, expiration dates, packages, product owner, how many are reserved and etc.
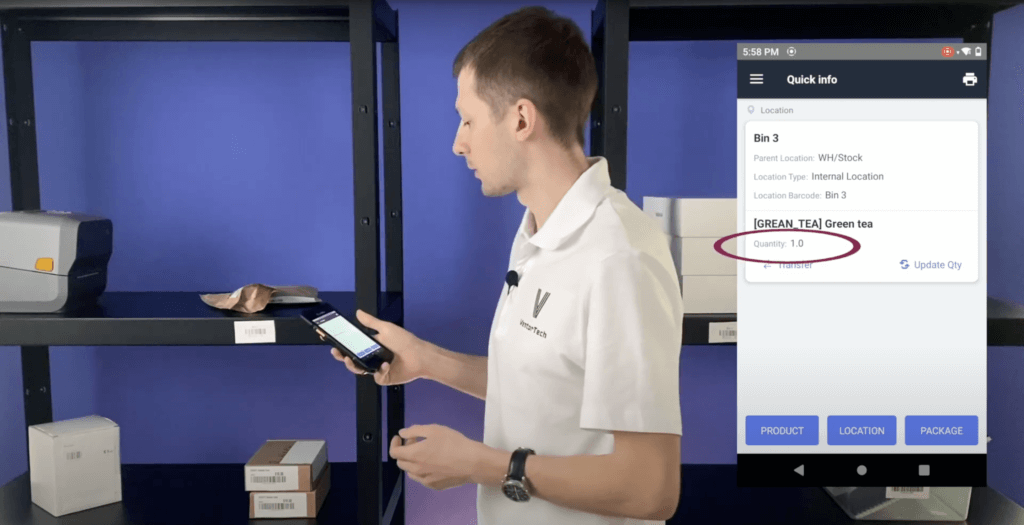
We can also scan the location (in our case bin3) to check how many items should be there. The app (and Odoo) thinks that there is only one kilo, but in reality we see two. Let’s update qty on the spot!
let’s check a Serial number. It’s LOT 2. And we enter quantity 2.

And let’s quickly check what’s now in Bin 3. Yes, now we see 2 kilos here.
Case is Done.
Case 2: Change product info and print label in Odoo
Besides of basic info about product you can also see all general information, and change it. Let’s scan the item (in our case – Groot).
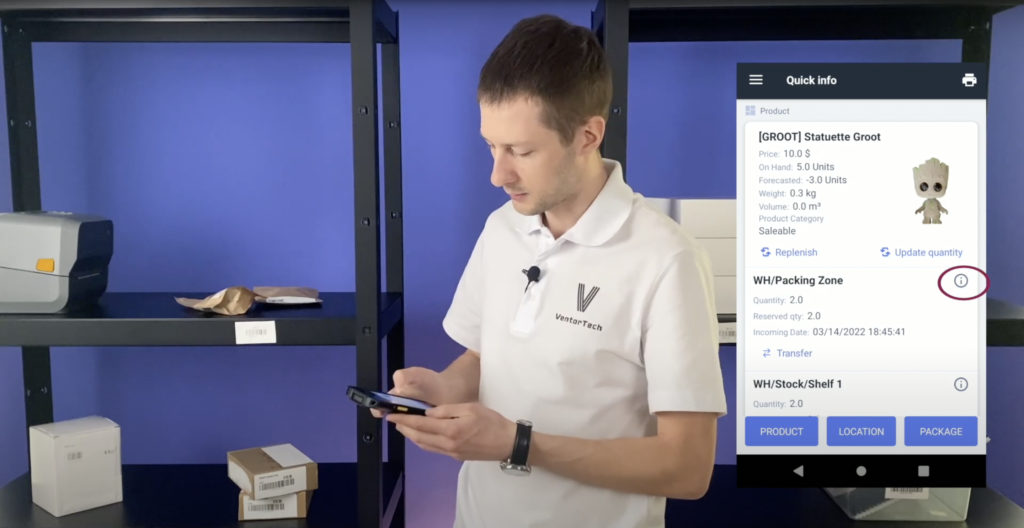
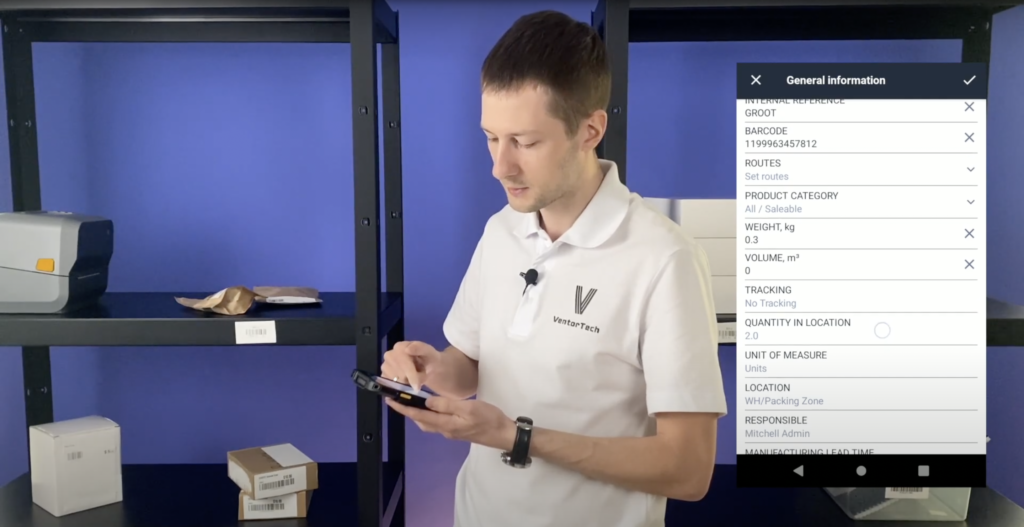
Clicking on the ‘Info icon’, and we see full information about this product: product name, internal reference, barcode ( we can change it or insert if it missed), also we can change routes, odoo product category, weight, volume, tracking, location and other.
BTW, we can print the product label right here (Print icon).
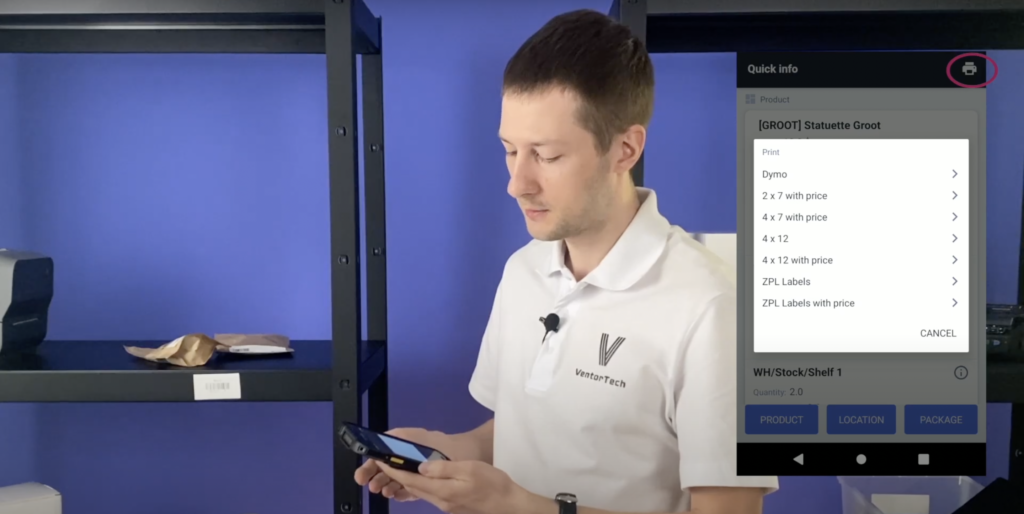
But it’s another story, you can find more details in our video “How to print product labels from Odoo directly to a printer with 1 click using Odoo Direct Print PRO“: youtube.com/print product labels from Odoo
Case 3: Replenishment
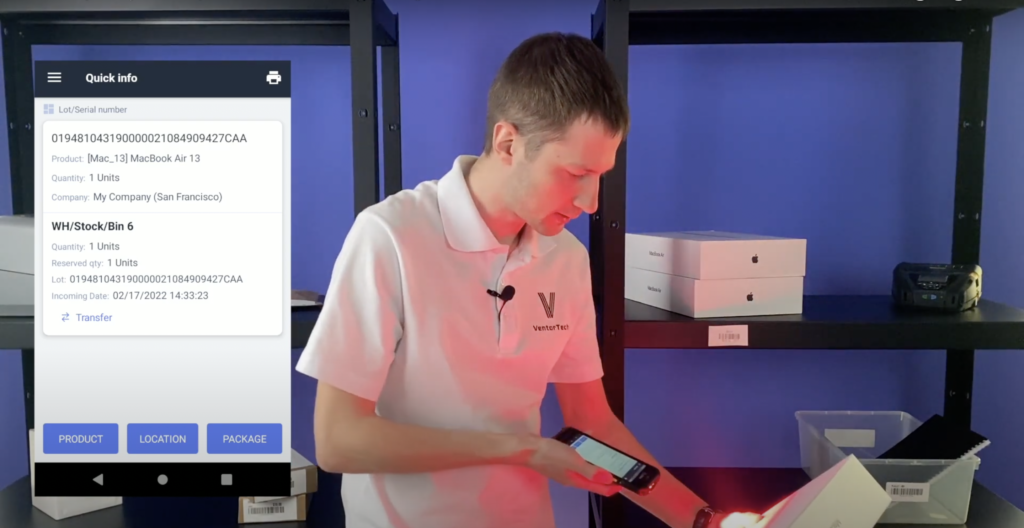
We can scan not only Odoo product barcode, but Lot or Serial number. For example, let’s scan serial number of our Mac Book.
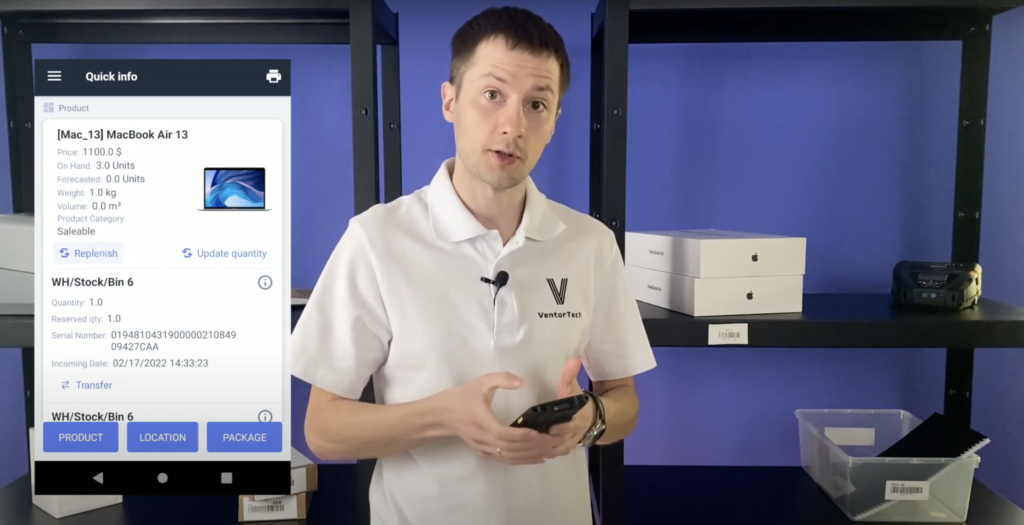
Let’s check in general how many MacBooks we have.
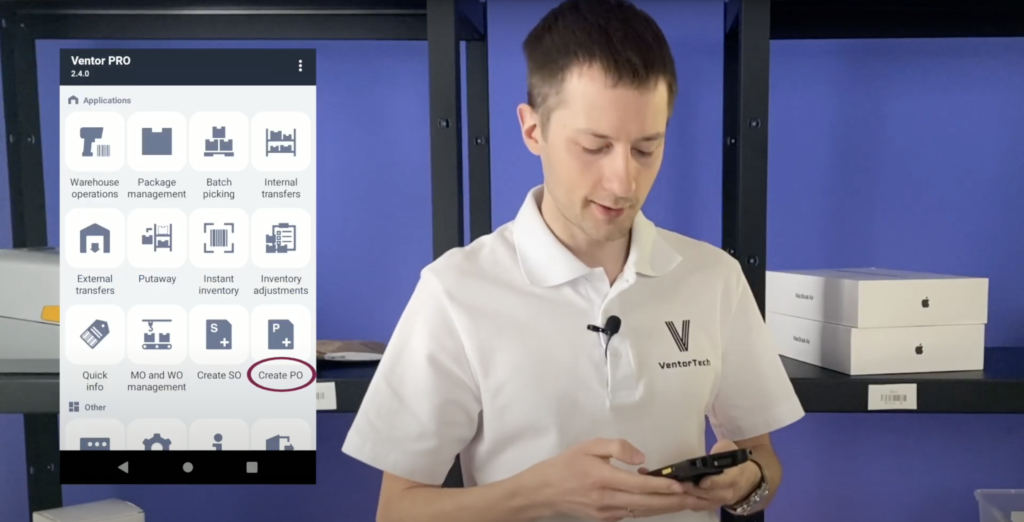
We see that only 3 units left. Let’s replenish them. Click ‘Replenish’ button
Let’s replenish for 15 more item, change the ‘Scheduled date’, select a route ‘Buy’ and ‘Replenish’.
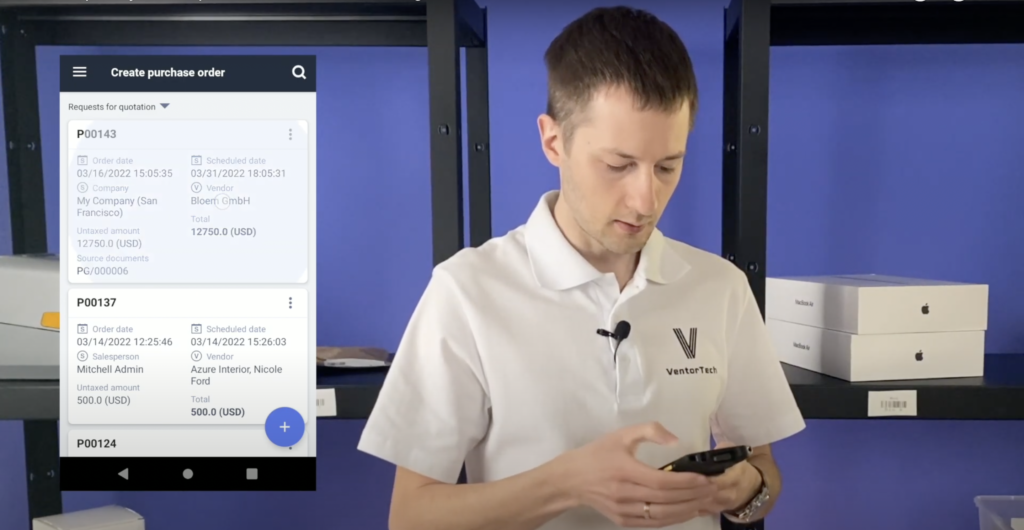
Let’s check created purchase order. We go to the ‘Create Purchase Order ‘.
And we see the last orders, also we see scheduled date, and our MacBook inside.
Case 4: Move products and put them in pack in Odoo
Let’s check the notepads. BTW, you may search for product manually instead of scanning if you wish.
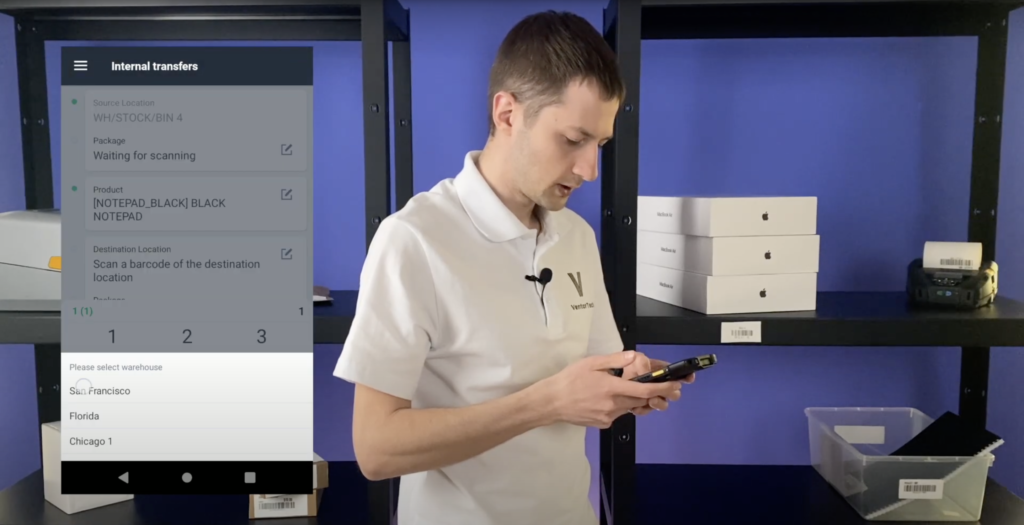
We see that it’s in Bin 4 in Odoo, but in reality in Bin 5. We can easily move this item from one location to another. Click on ‘Transfer’
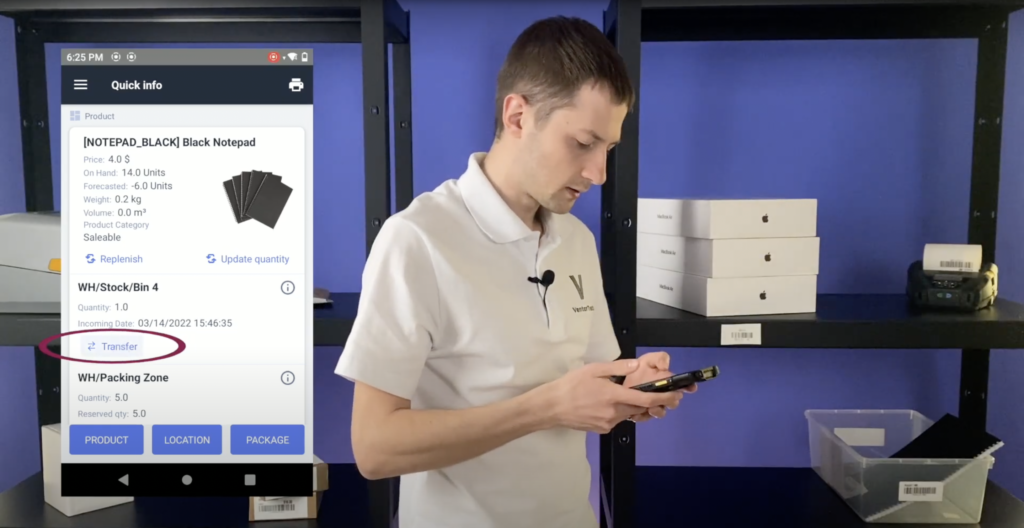
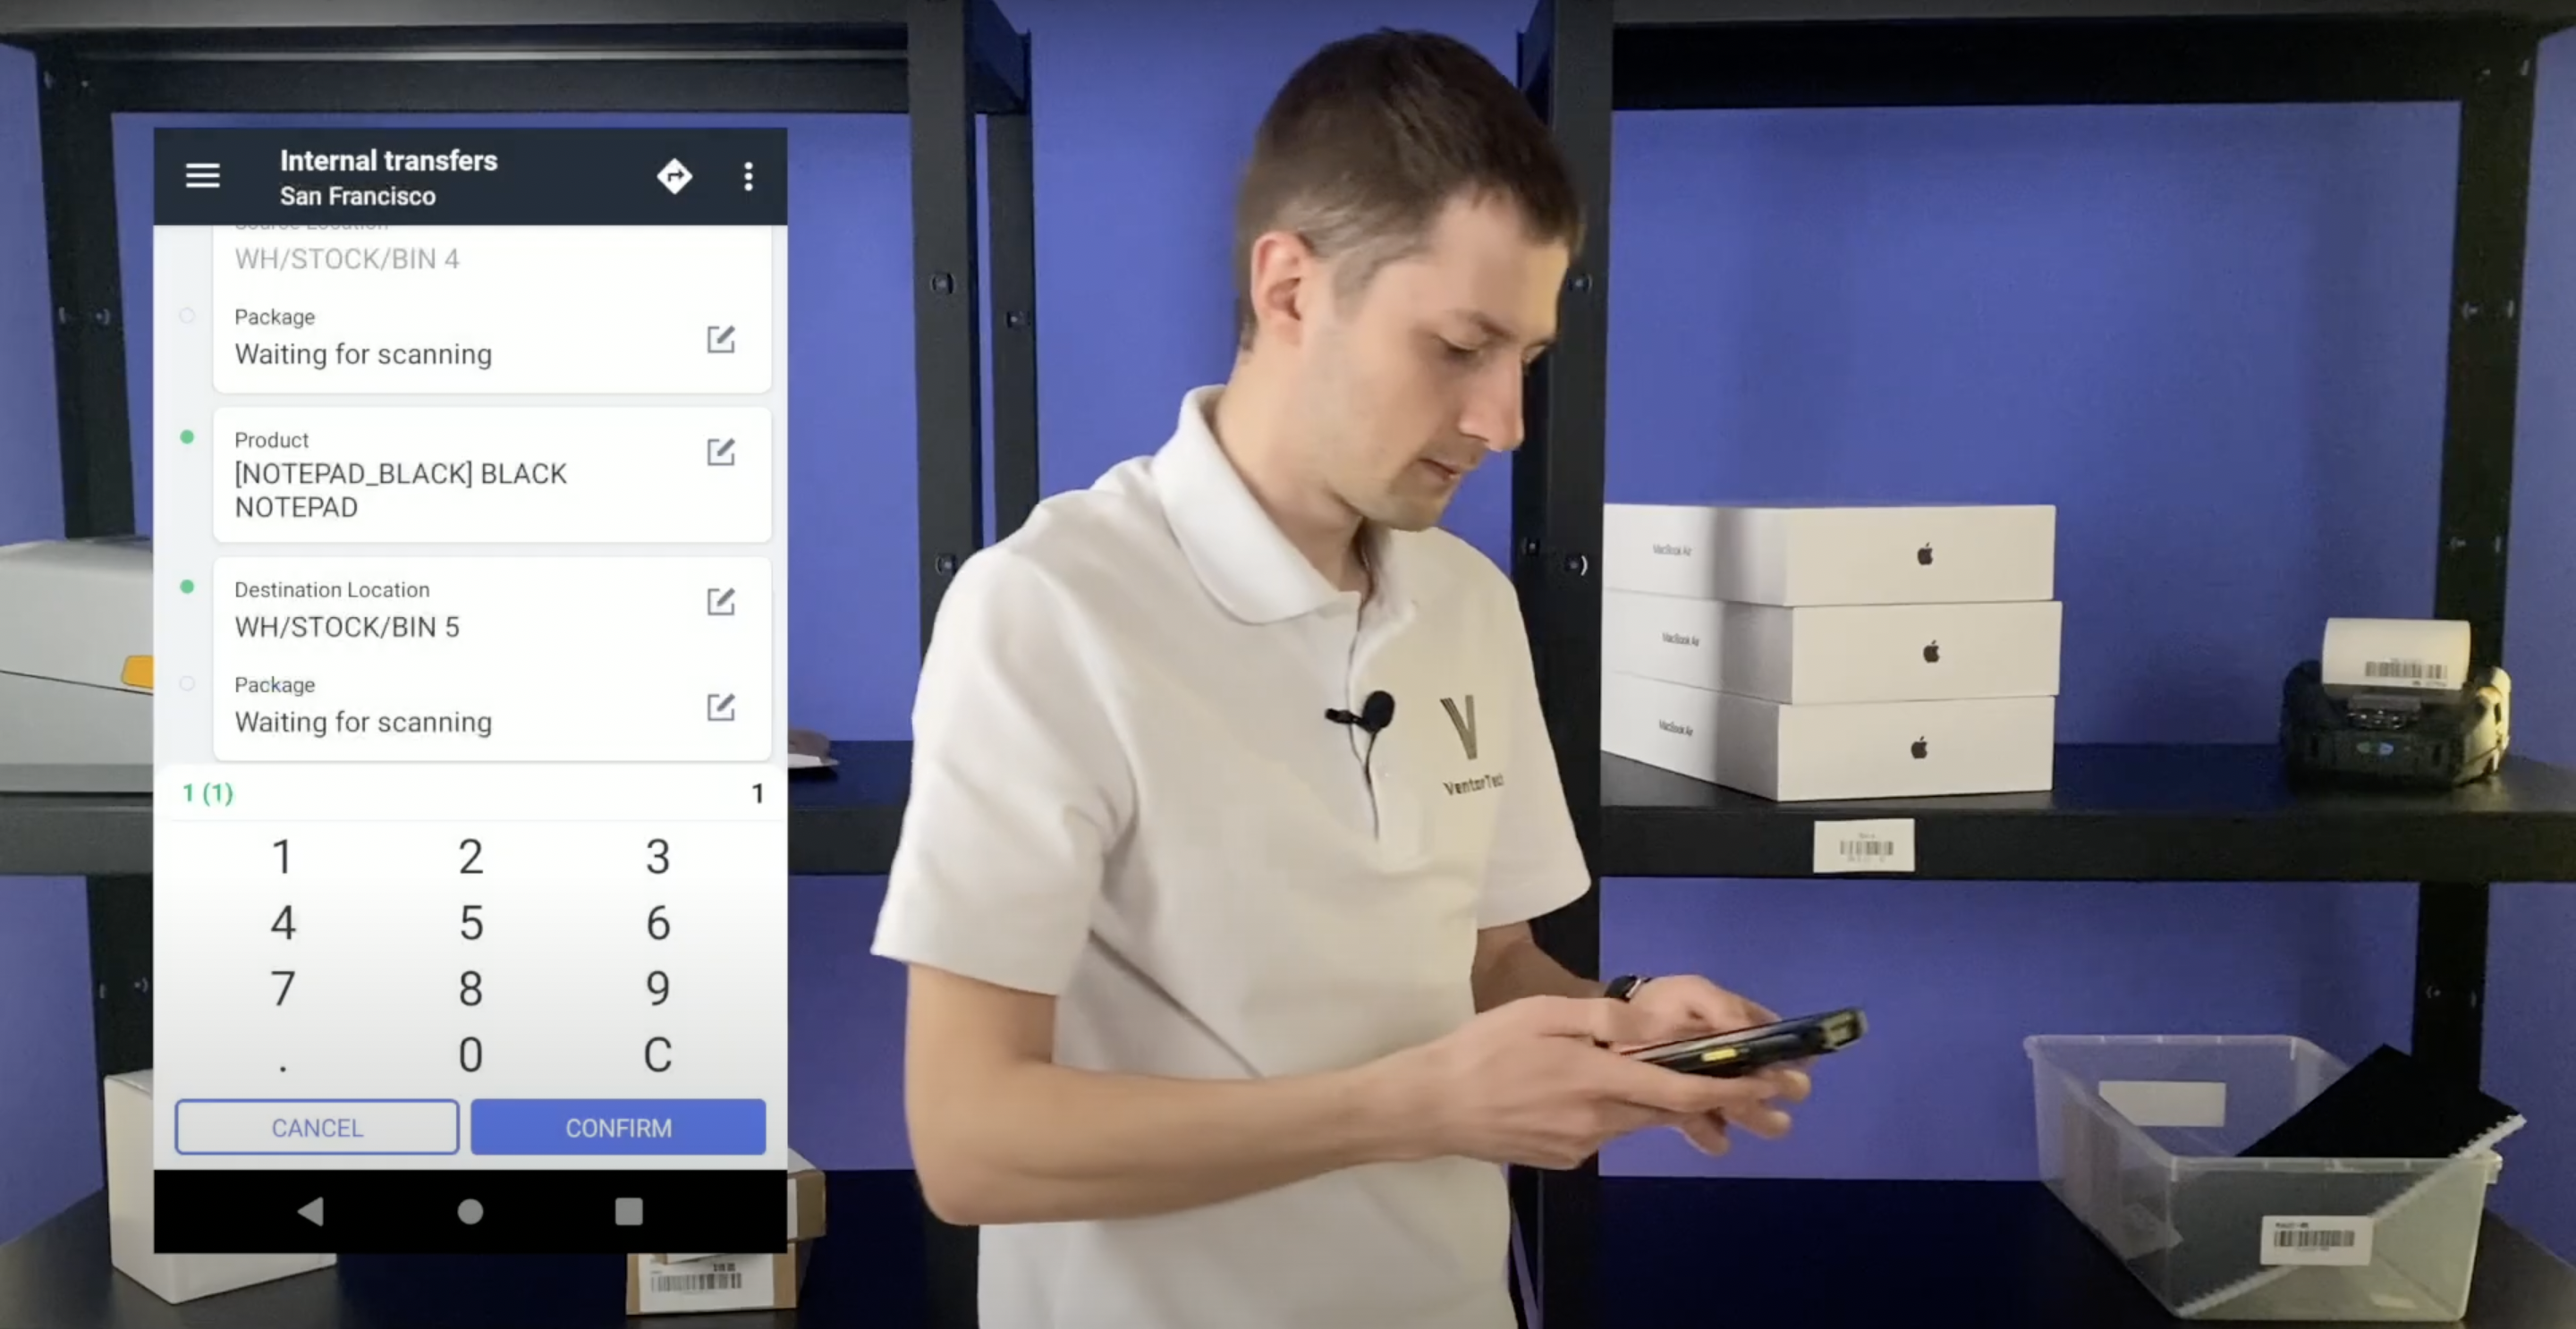
Select needed warehouse.
Scan the destination location and let’s also put it in pack. And confirm.
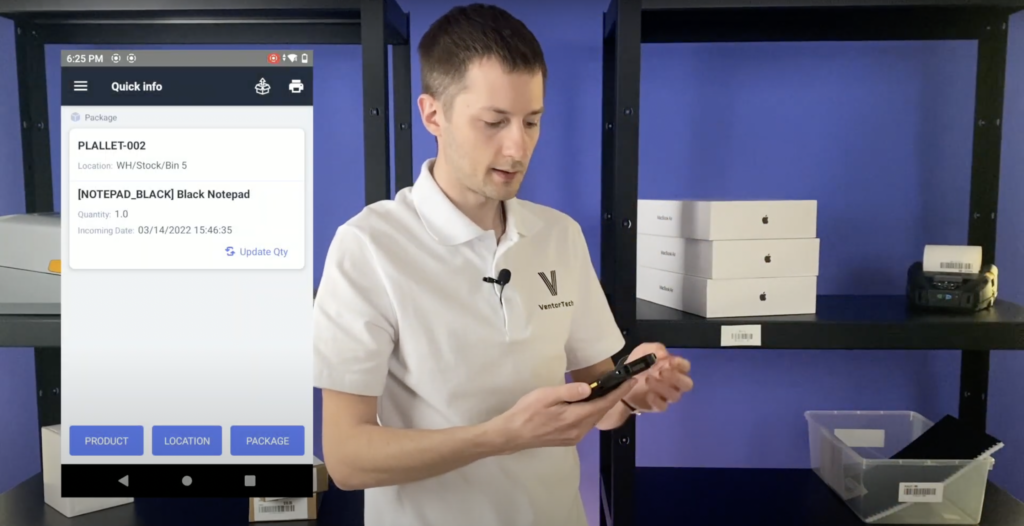
Now let’s return back to the ‘Quick info’ menu and check our package. Now it contains notepads.
***
Now you know how to quickly check all info about product, location or package via the ‘Quick Info’ menu in the Ventor mobile app.
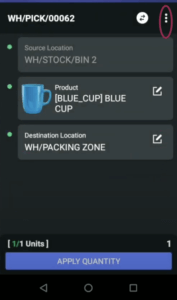
BTW, you can call Info right in the middle of processing any warehouse operations, e.g picking. Just click three dots > Quick Info.
***
Ventor: Quick Start Guide – ventor.app/guides/ventor-quick-start-guide/
Ventor complete guide. Introduction – ventor.app/guides/ventor-introduction-guide/
Try Ventor for FREE