Introduction
For the last five years, Ventor mobile app has been a number one inventory companion to the Odoo ERP system. Each working day, more than a thousand customers around the world use our application for receiving and picking goods, inventory control, and warehouse management. We continually collect feedback about the app and release new features and updates every month.
This is the first in a series of articles about the app and its features. Today we will talk about the application’s interface, main elements, navigation, and functions. We will also show you how to install and configure the application. Let’s get started!
Installing and activating
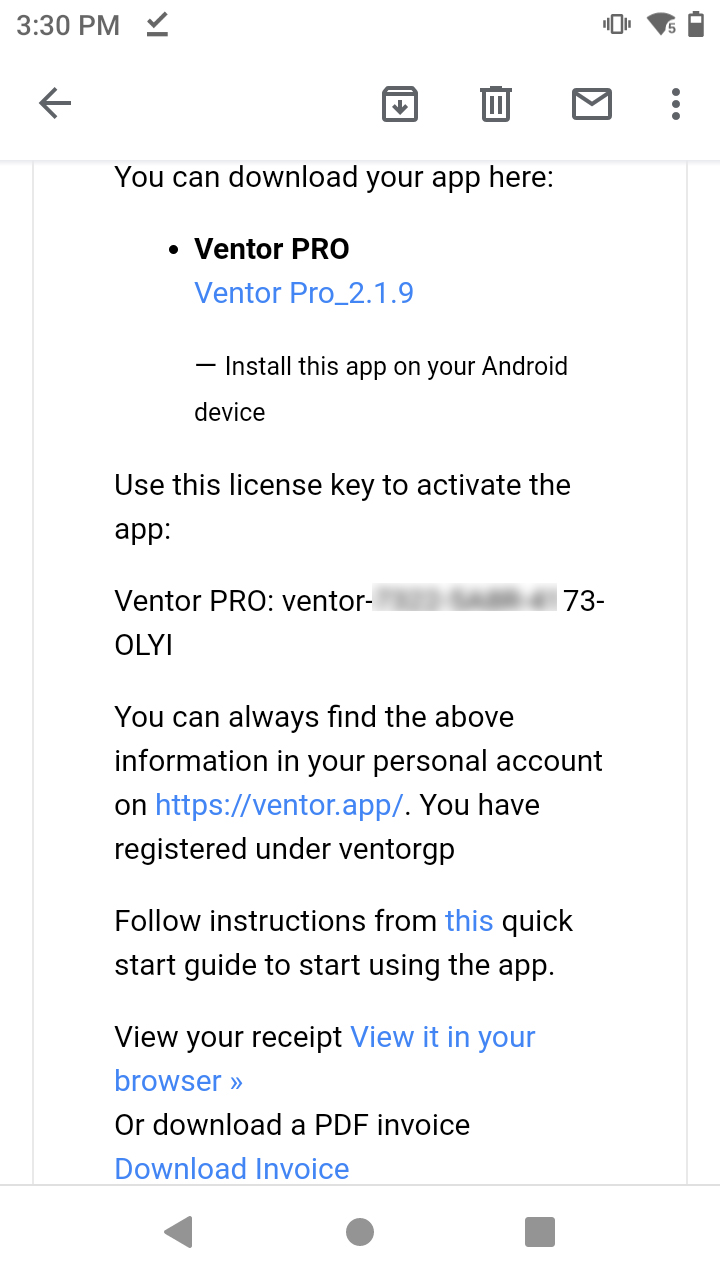
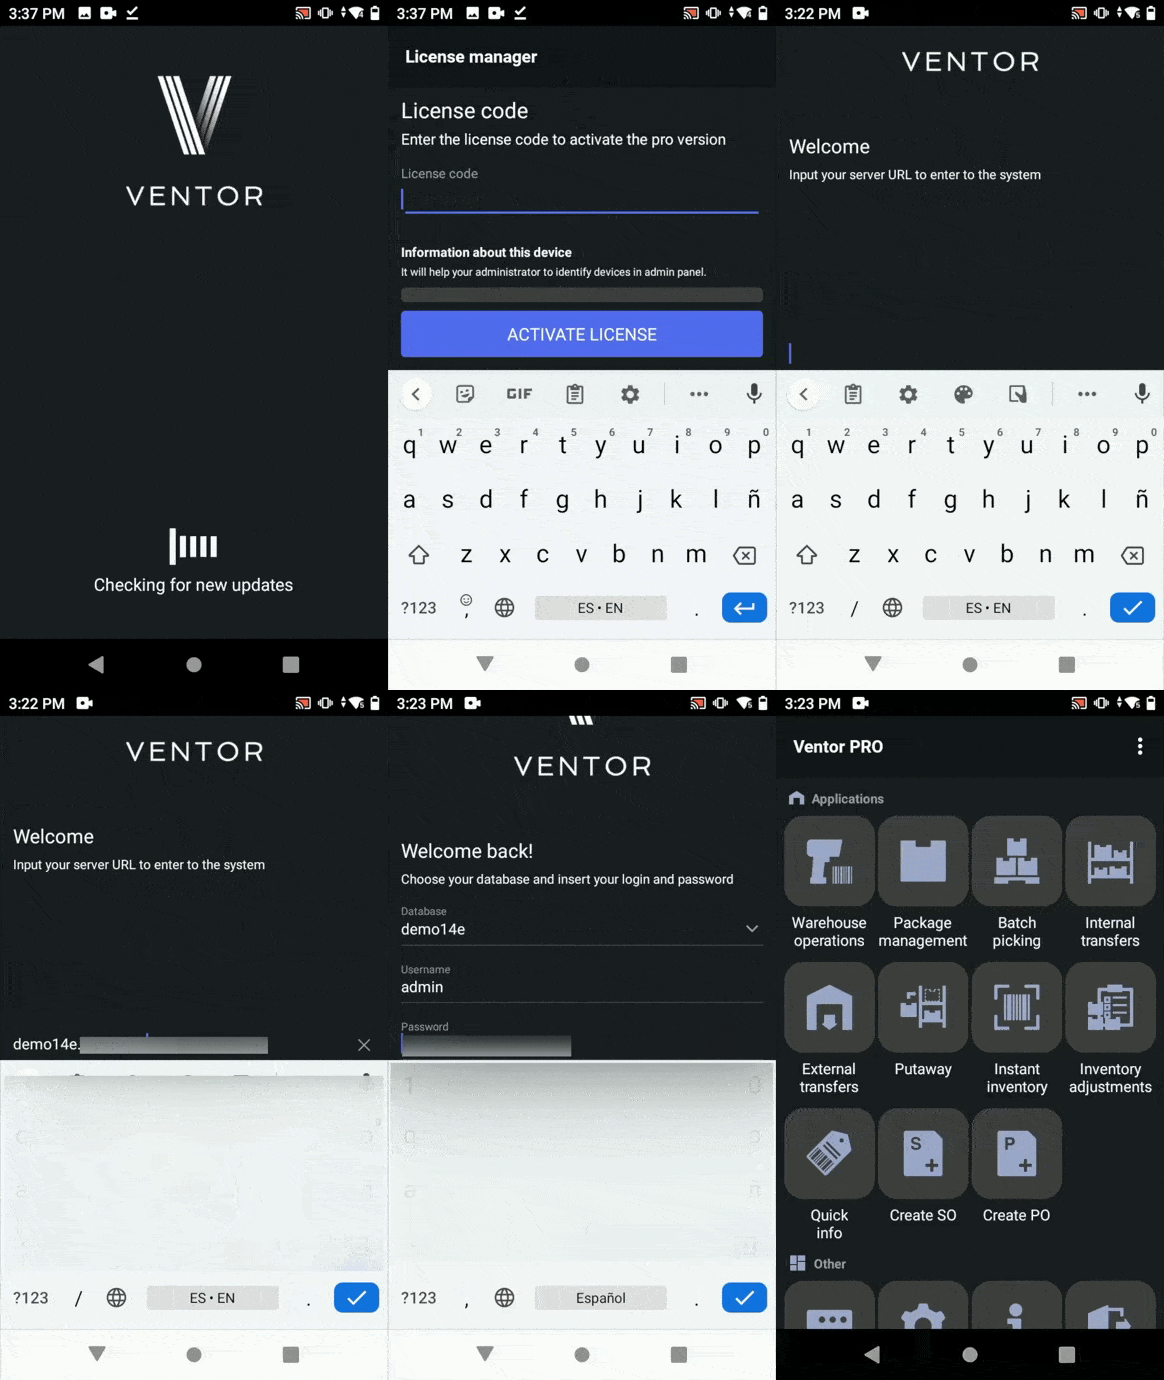
After you have purchased the application, you will receive an email with a key that must be entered into the application. The application itself (installation file) can be downloaded from the link in the same letter or from your account on the ventor.app website.
Note that you can buy the app from the official site or Google Play. There are no functional differences. However, you cannot customize the Google Play version, and you will not get access to license management to activate or deactivate devices remotely for your employees.
So, if you don’t need customizations and you work in a small family business, then go ahead with the Google Play version. You can use the app on up to three devices under the same Google account. However, if you need new features or you have employees, you need to buy the PRO version from our website, not from Google Play.
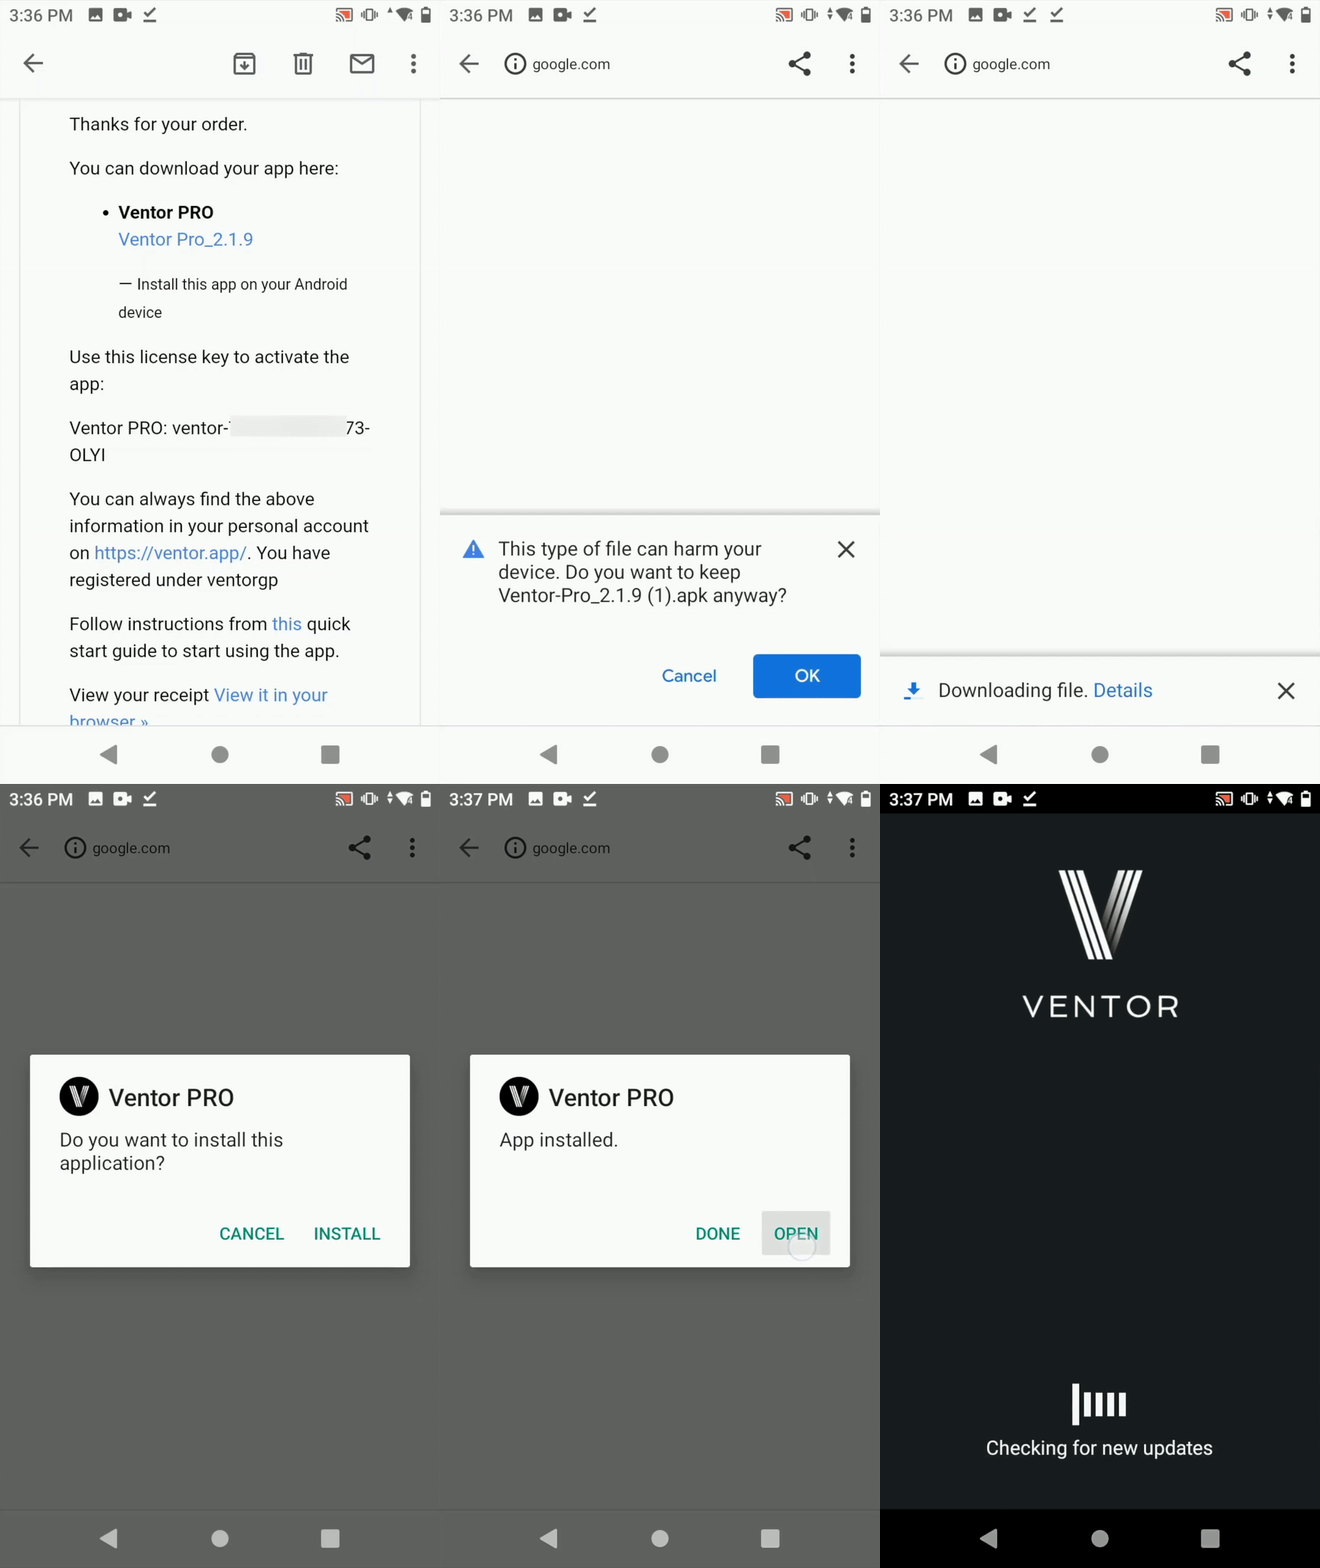
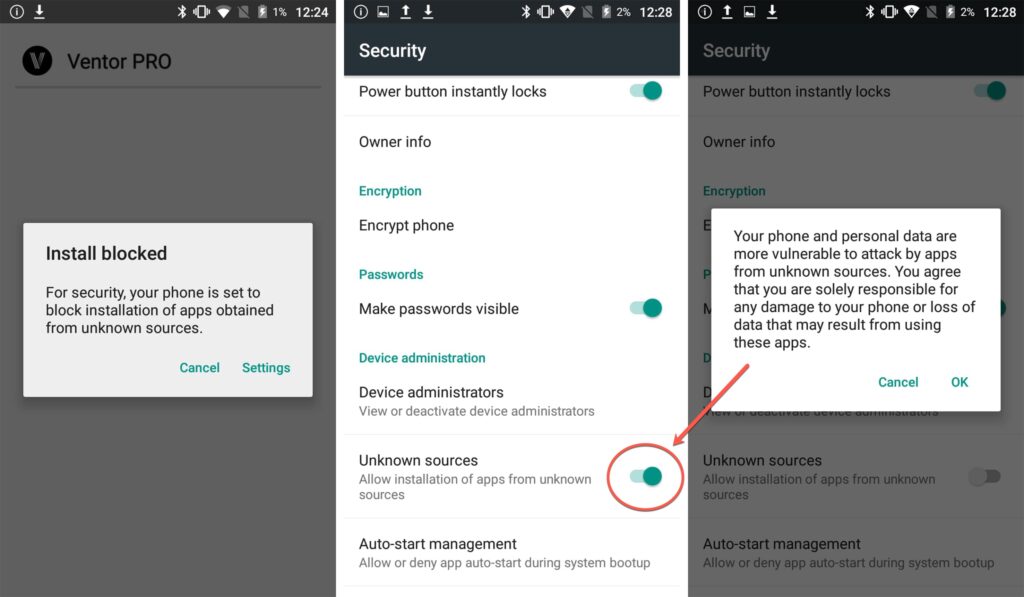
Download the APK file (installation file) to your handheld device or phone. Alternatively, download the file to your PC/Mac and then move the file to a handheld device connected wirelessly (or by using Bluetooth). Simply open the file using any file manager and install it. Allow installing the app from other resources.
All future updates will be installed automatically with an internet connection. Run the application.
Ventor App will ask you to enter the key immediately on first opening it. You can find the key in your account on ventor.app or in the email you received after purchase. We provide a 14-day trial period for your first purchase (subscription).
How to get 14-day trial period – youtube.com/watch?v=Ventor
You can control your licenses in your account on the ventor.app website.
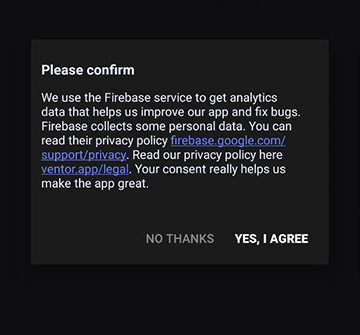
We recommend you also confirm data collection during installation. It helps us improve the app and fix bugs.
How to connect to your Odoo instance
Open the app and insert your Odoo URL like this: erp.companyname.com. Note that you should have a valid SSL certificate to have a protected connection. Otherwise, the app warns you of an error message or simply doesn’t allow you to connect to the instance. Next, you will need to insert your user login (or email) and password, the same way as you need to log in using your web browser. Note that if you have multiple Odoo databases, you have to choose one needed from the list of databases.
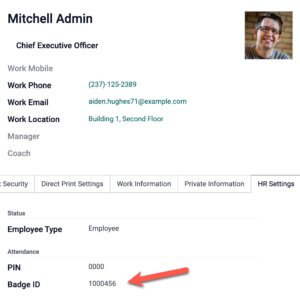
After first login, you can then login by scanning barcode from your Odoo badge ID (need to install Odoo attendances app)
Main menu, navigation, design
After login, you will see the main menu. It contains different menus (apps), and each of them is responsible for a dedicated business case:
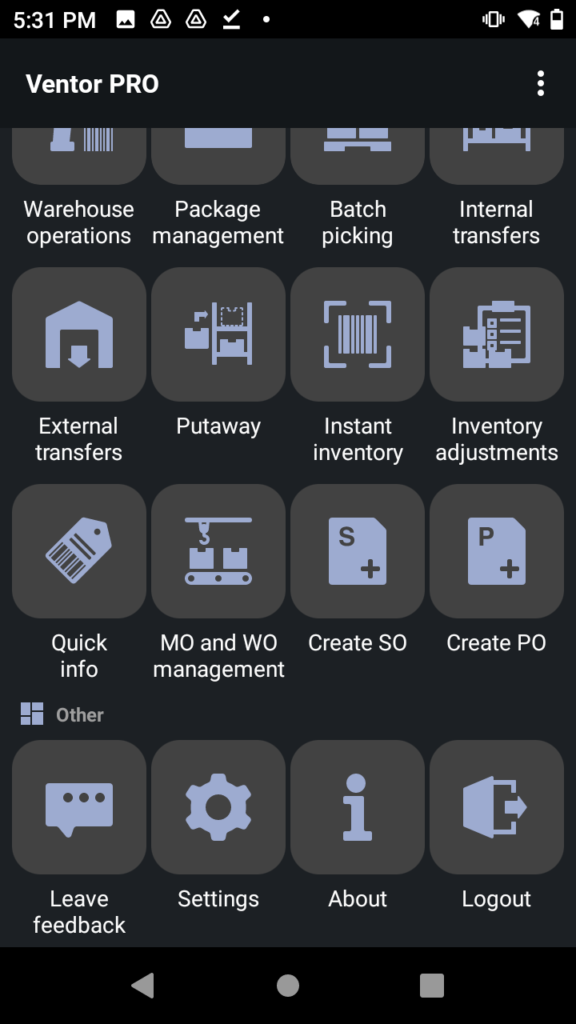
Warehouse operation
Manage incoming shipments, pick, pack, and deliver orders. The main menu manages all transfers at different warehouses and zones.
Package management
Package management for orders in the dedicated packing zone. Useful for packers who checked items after picking, and then the items are packed at the packing zone.
Batch / Cluster picking
Pick multiple orders at once (batch picking) or sort them out in boxes placed on a cart (cluster picking) in an optimal route. Pickings can be created on the Odoo side and assigned to pickers.
Internal transfers
Move items or entire packages, from a shelf to another shelf inside your warehouse in a couple of scans.
External transfer
Move items into or out of a warehouse without the creation of sales or purchase orders.
Instant inventory
Update quantity on hand for an item at one given location.
Inventory adjustments
Planned inventory for all locations and products, or a combination of both.
Quick info
Get quick info about product, location and package, lot or S/N simply by scanning its barcode.
Create sales order
Only available if the user has appropriate access rights in Odoo (Settings > User > Access rights > Sales)
Create a purchase order
Create requests for quotations by scanning items. Only available if a user has has appropriate access rights in Odoo (Settings > User > Access rights > Purchase)
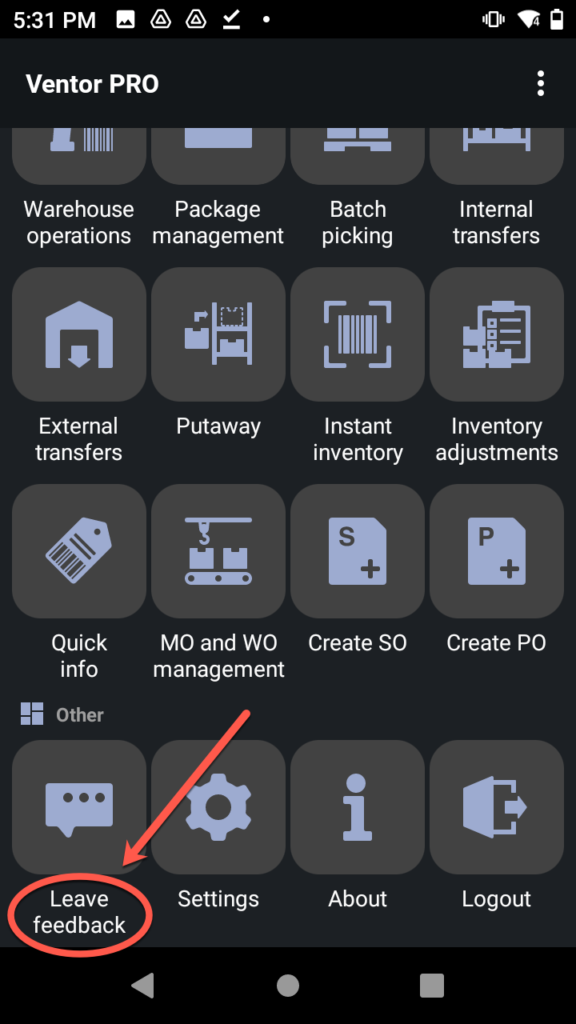
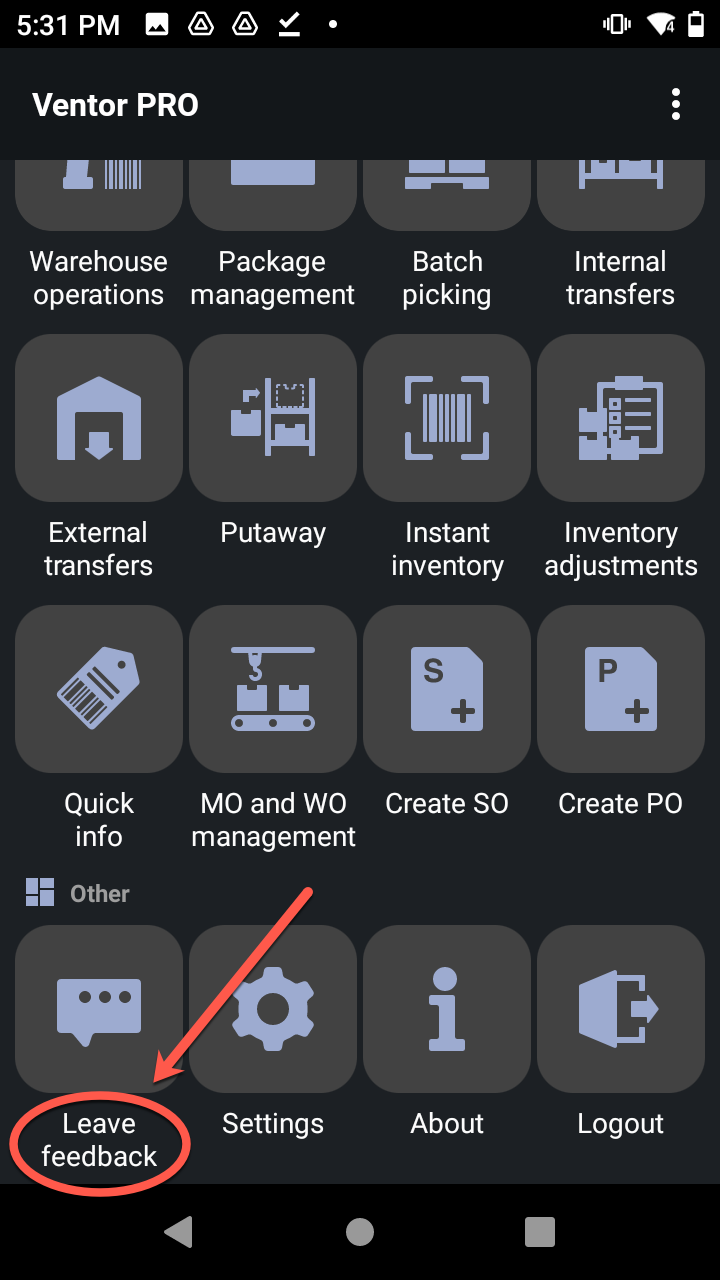
Leave feedback
Send us a bug report or request a new feature. We will fix it ASAP or add it to a backlog to implement in future releases.
Click on any of the menus above to read more detailed instructions. You will be able to check them as soon as we publish them one by one. There you will also find all frequently asked questions.
Ventor settings
There are two main groups of settings in the app:
- General settings are available on the main menu.
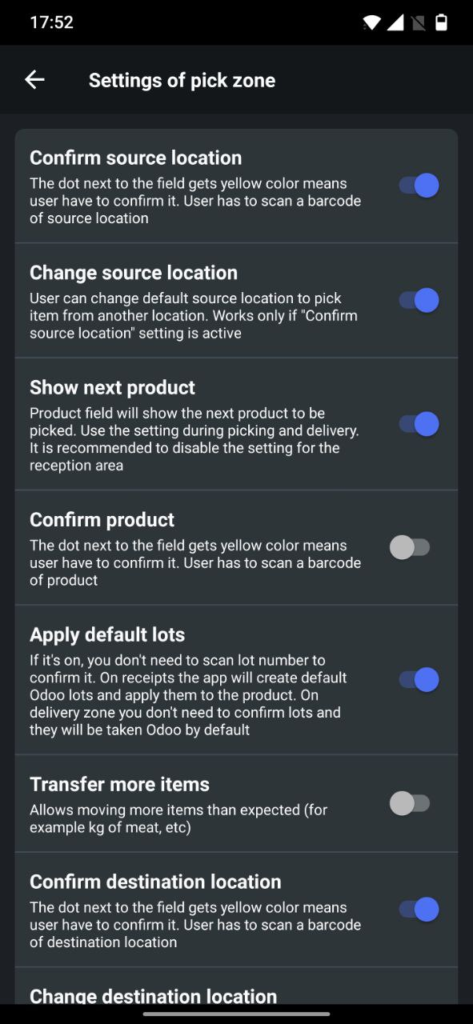
- Individual settings within the menu: individually for every sub-menu (individual settings are available inside the different menus).
The general settings are divided into different categories, as follows:
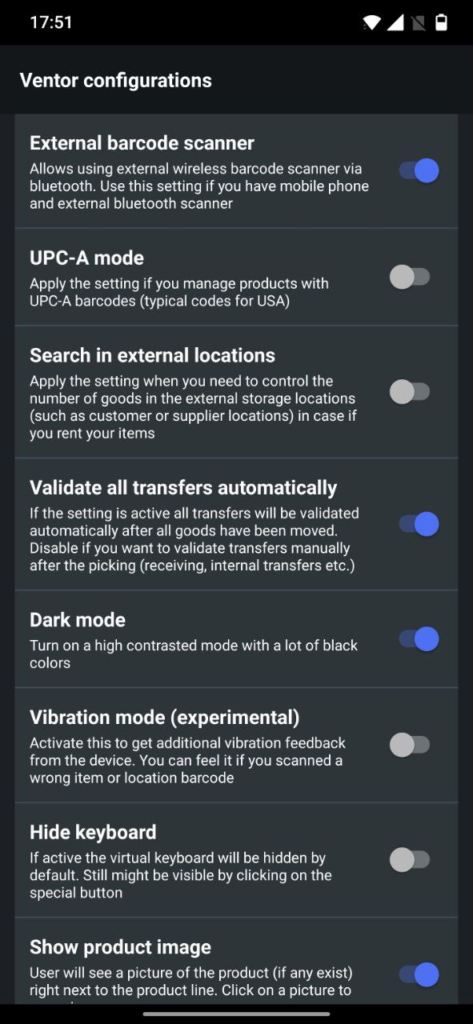
Ventor configurations
Settings have detailed explanations; check them out to set them up properly for your warehouse. Note that these settings are general for the app, and they will apply to the whole operations types and sub-menus.
Data collection
You can enable or disable data collection. We do not share or otherwise disseminate any personal data. The app only collects issues and cases when the app crashes or freezes. All this just helps us to fix problems faster than you think about reporting them.
Update management
Turn on or turn off auto-updates. The app gets new features and fixes every month. Some customers want to update only one device at a time to test it first before a massive release for all devices and users.
License manager
Apply for a license or unlink a device from the key. The menu is only available for the PRO version. So if you bought the app from the Google Play Store, you can use it only for personal usage (one person or a family company). For the rest, please use the PRO version and control connected devices on the site.
Password management
You can ask to insert a password to log in with all the time. By default, users have the possibility to easily log in with a saved user profile.
Advanced Ventor configurations
Simply redirects you to all Odoo apps developed by the VentorTech team for Odoo ERP or Odoo Inventory. Check it out, and you will find a lot of free and paid useful apps for Odoo.
Individual settings are related to specific menus. You can always find them inside all menus. We will discuss them in detail in appropriately related articles. Just do not forget that you can configure and manage your Odoo Inventory app or internal transfers even with more customizable settings.
How to get support
There are a few ways to get support:
- Use the “Leave feedback” menu inside the app
- Send an email to us at support@ventor.tech
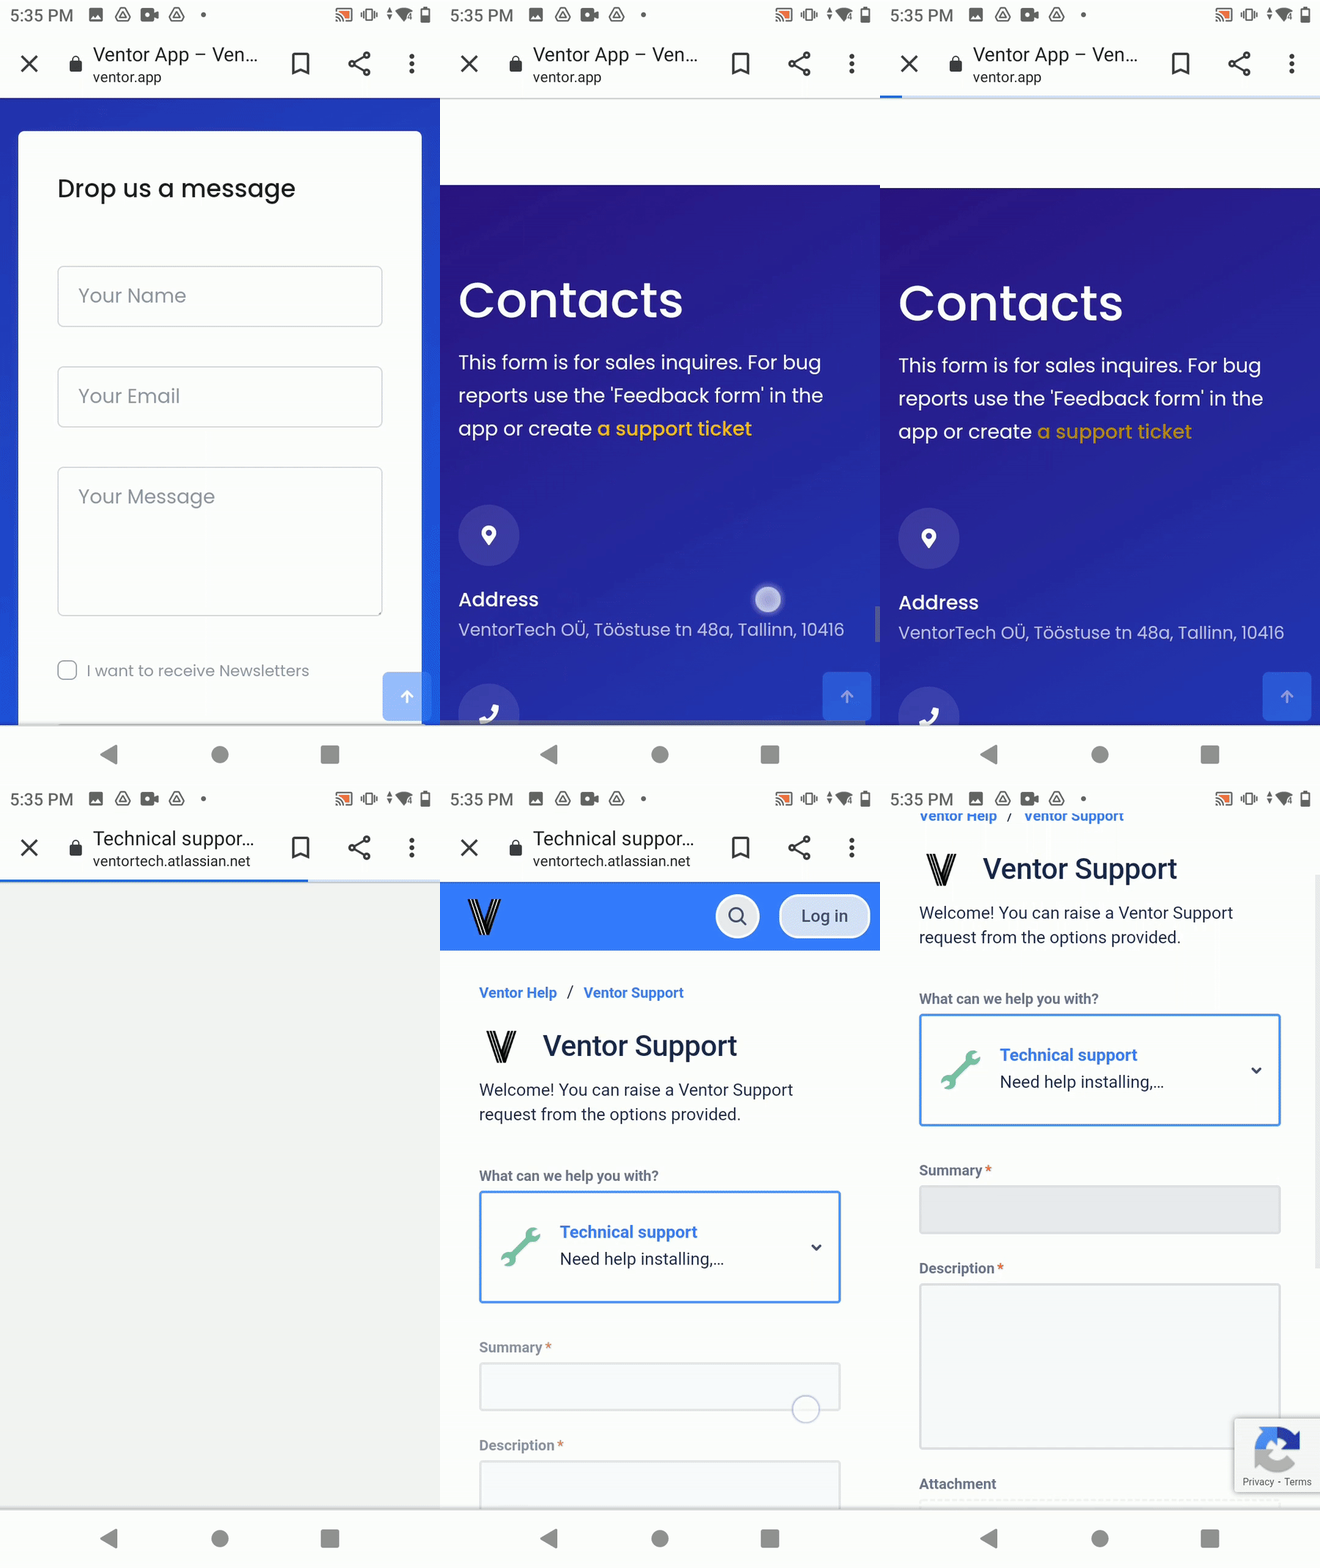
- Fill in a contact form on our website support.ventor.tech
Principles of the support:
- Customers get support and feature requests in first
- Cosmetics fixes are planned for one time per month
- Bottlenecks and big issues with the app are resolved within 24 hours
- If you have troubles with the app, please record a video to show the issue. Issues with a video get support priority and usually get resolved faster
If something doesn’t work with the app (e.g., you can’t validate a transfer or get error messages while trying to make internal transfers), please make sure that you have no the same issues on the Odoo side. In most cases, such issues are related to the server-side and not to the Ventor app.
If you have questions, please feel free to ask them in the comments section below.
CBDO at VentorTech


Hey There,
I am about to try Ventor with our Odoo instance.
My question is, we are currently still in a test environment and we will likely change our odoo instance in a week or two.
If I buy a license, will I be able to change the database/instance at a later stage?
We are currently still running on our “fantasy odoo instrance url”
Thank you!
Hi Mario, you can connect to any instance of Odoo without limitations. Just make sure to log in as an Admin user the first time on each new database to ensure all settings are correctly loaded from that database. Once you’ve done this, you can log in with any user.