
In this article we show how to make internal transfers in Odoo using the Ventor app – Odoo barcode app for your inventory needs.
Also, we recorded a video, and you can watch it on our YouTube channel:

Table of contents
- Move an item from one location to another in Odoo via a barcode scanner
- Move an entire package in Odoo via a barcode scanner
- Move multiple items in Odoo from different locations to the new one via a barcode scanner
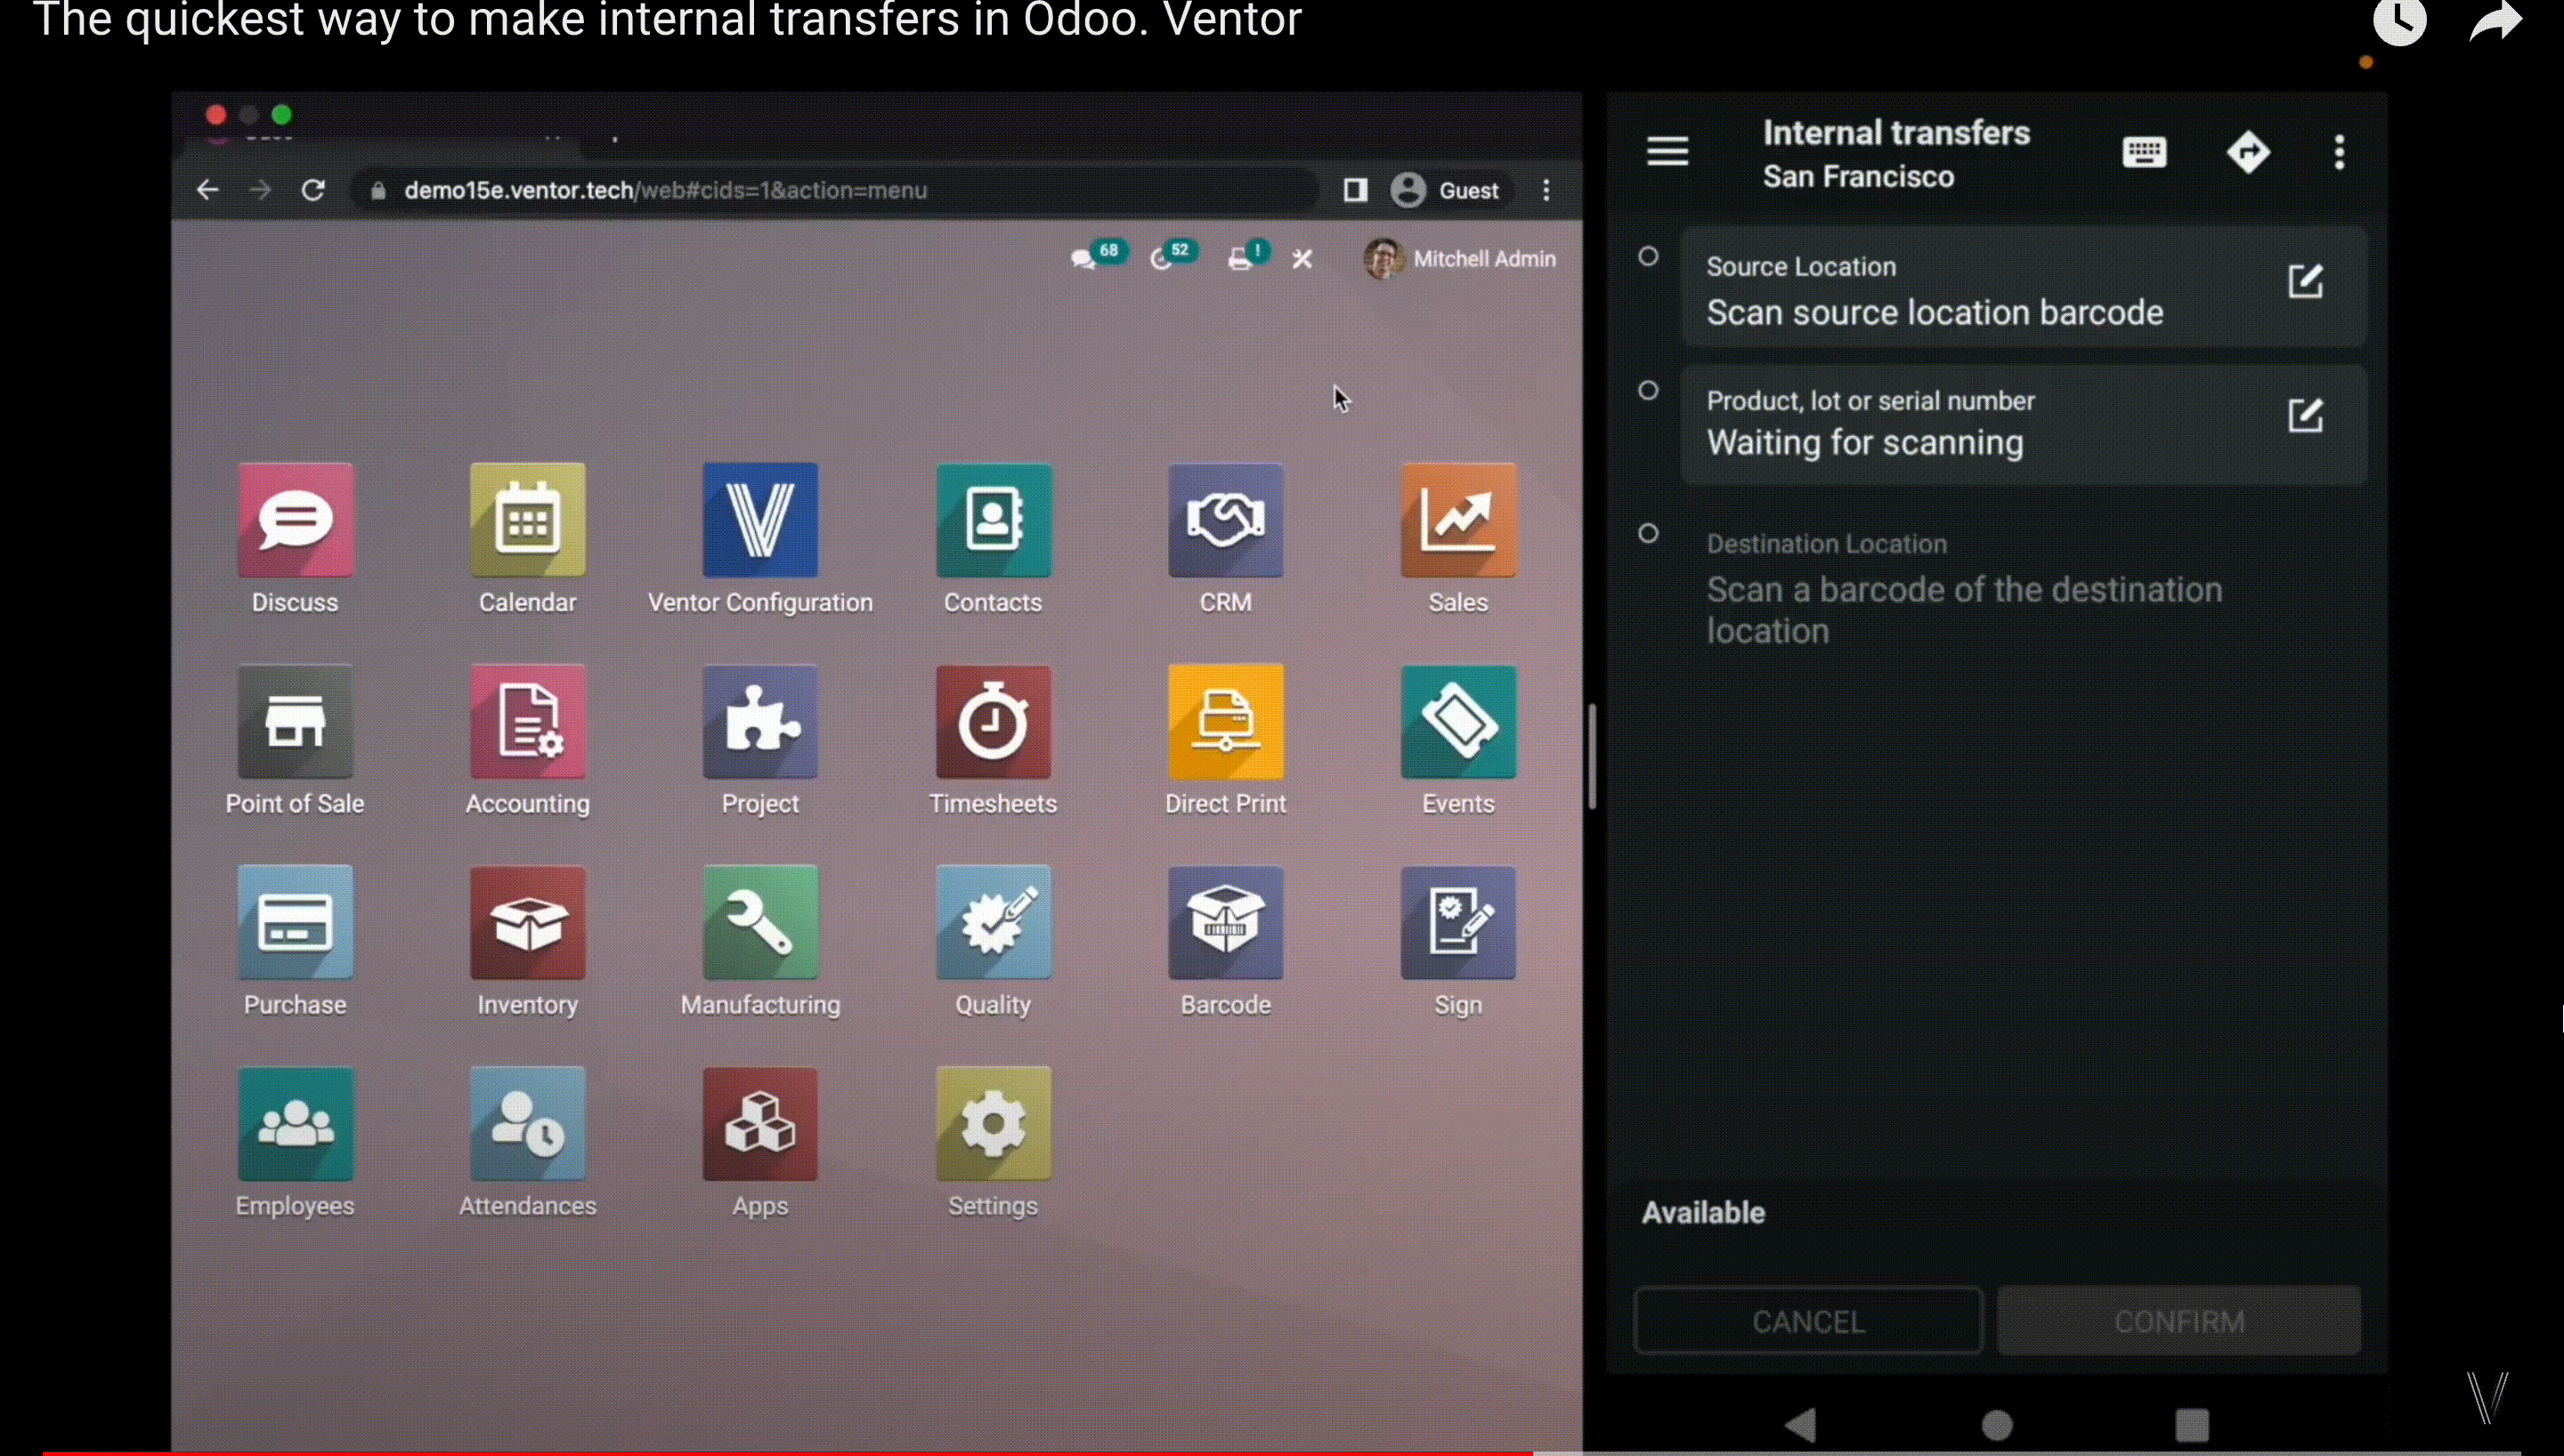
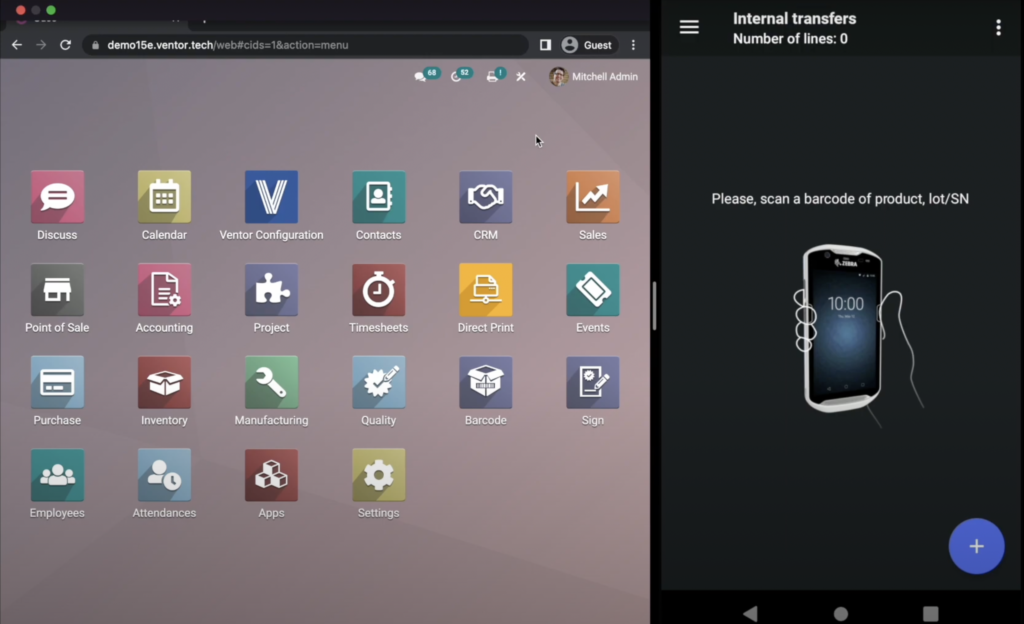
In this article, we are going to discuss the ‘internal transfer’ menu. First of all, let’s open it.

The first thing that we need to do is choose a warehouse. As a user, we have access to two warehouses but need to work in only one of them.
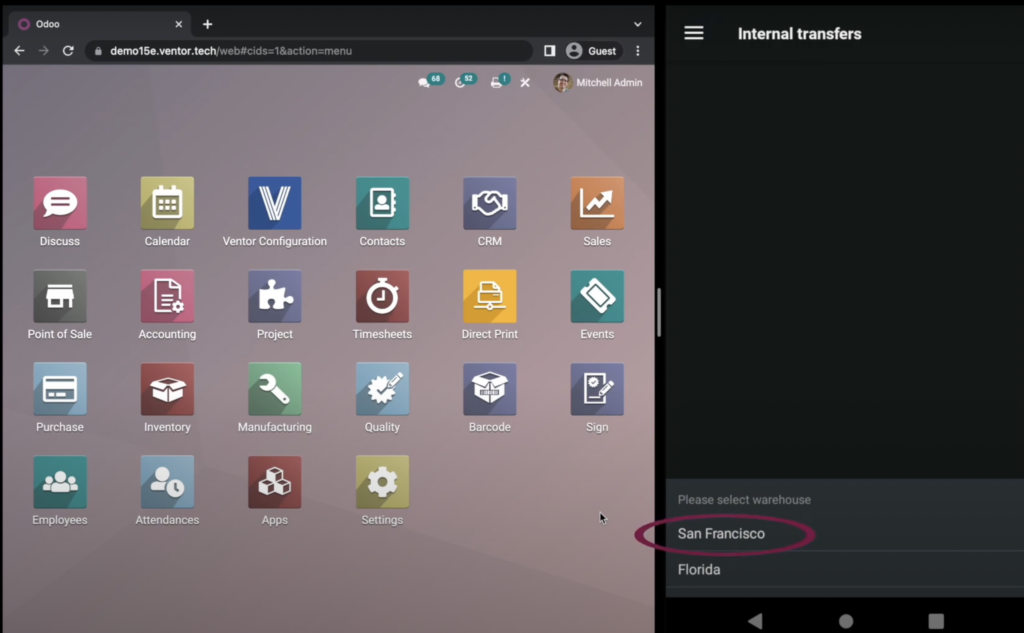
Remember, if you have the application “Ventor Configuration”, then you can make a default warehouse for which each user inside your system has access. This saves much time for you, as we no longer need to choose a warehouse inside the application. The ‘internal transfer’ menu was developed to move one item from one location to another, as simple as that.
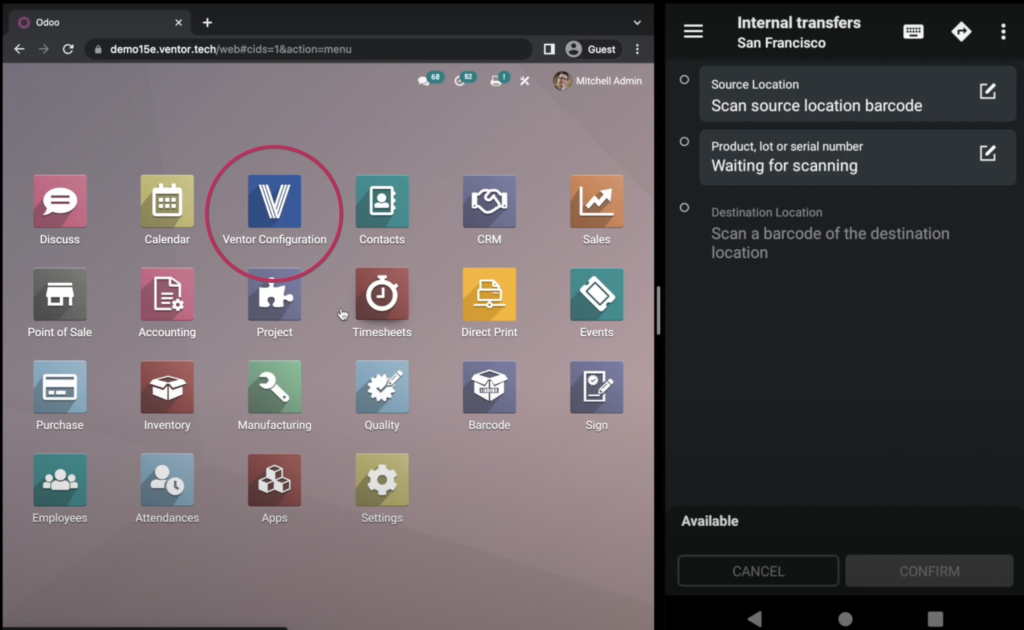
Move an item from one location to another in Odoo via a barcode scanner
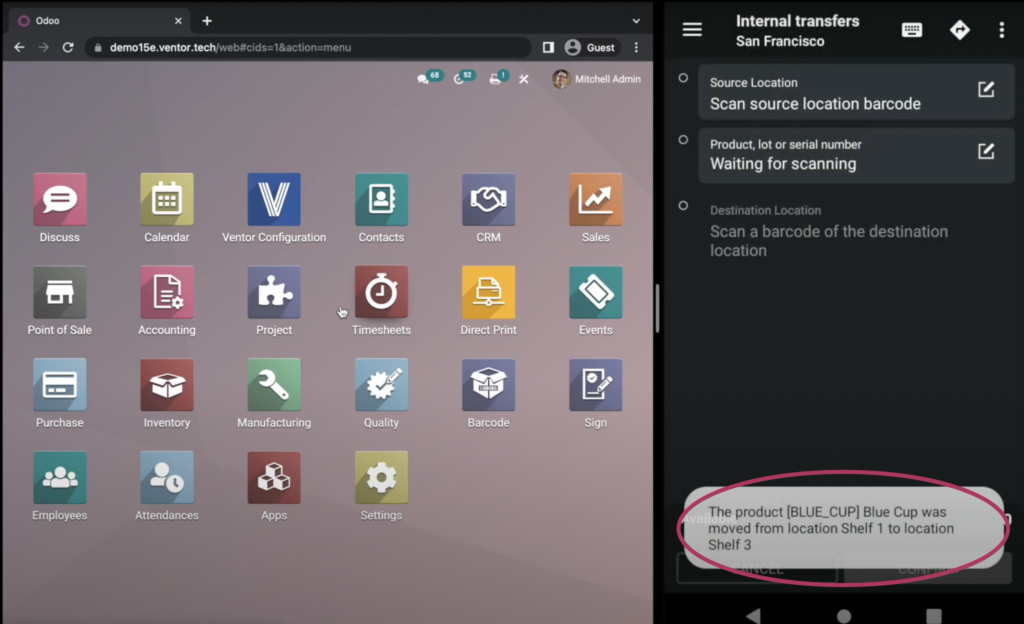
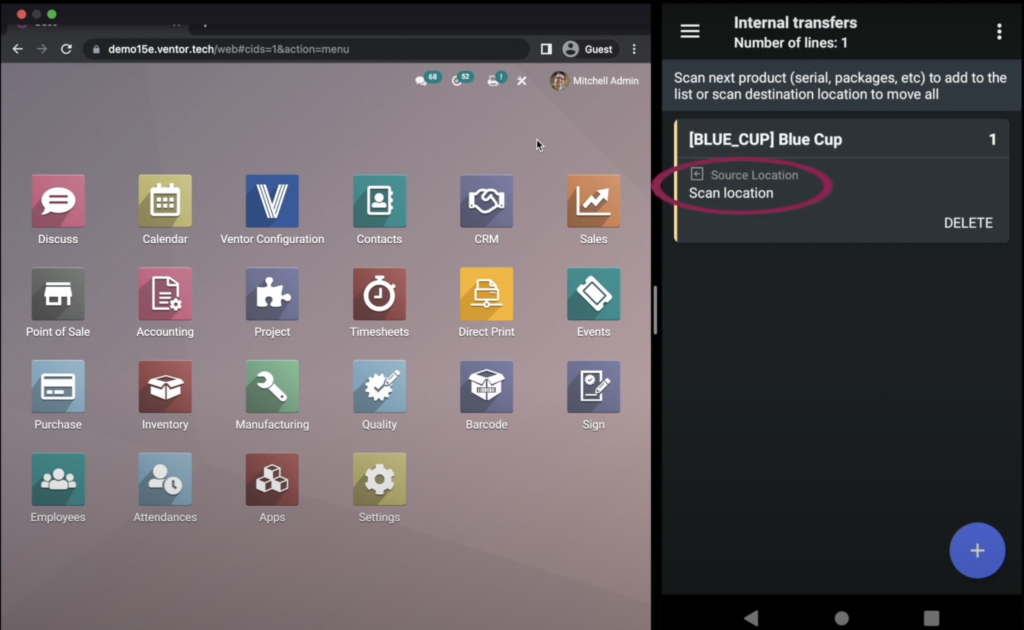
So, let’s try moving something. Let’s start by scanning ‘Shelf 1’ as a location from where we want to move an item.
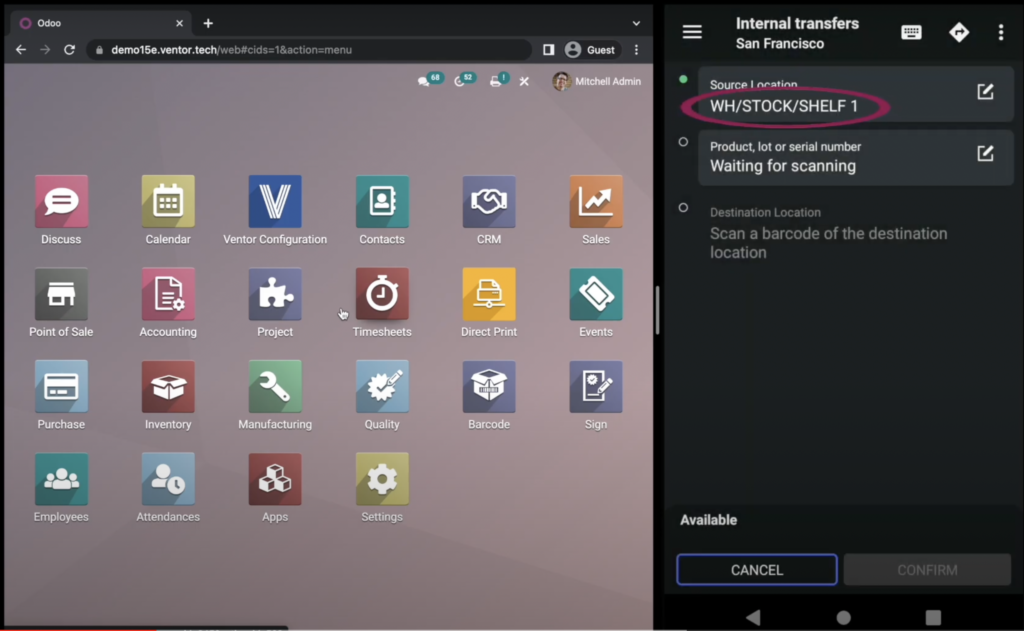
Then, we scan the item we are going to move; it’s a ‘blue cap’. We have two out of two in this location.
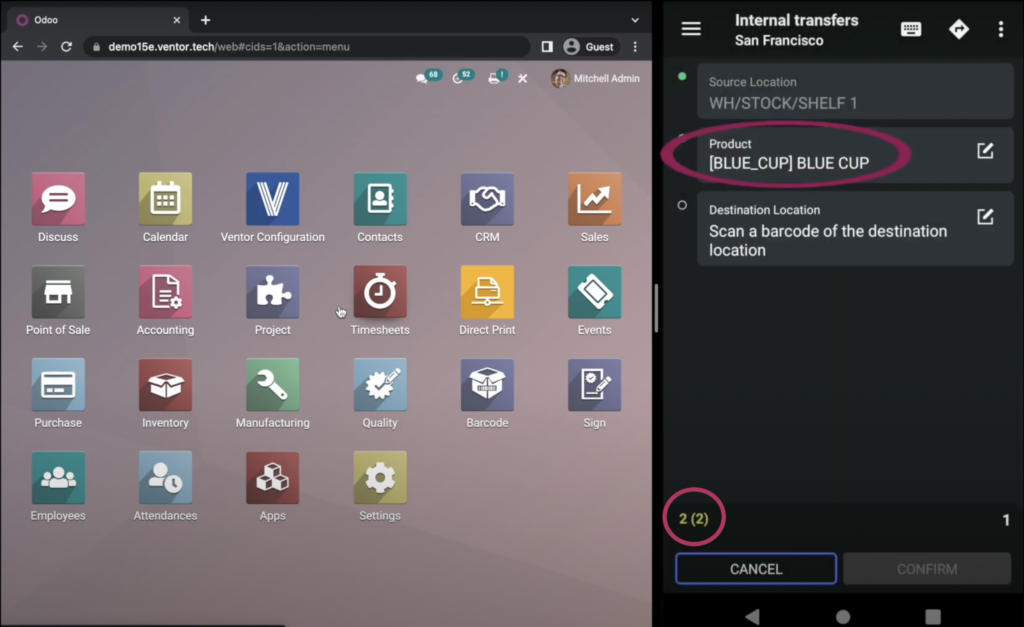
Two out of two are available, and we are going to move them to ‘Shelf 3’ by scanning the new shelf assignment.

Remember, you can adjust the quantity using the ‘virtual keyboard’. In our configuration, we make it possible to hide this keyboard, so it can be shown only when we need it. So, move only one item by clicking on ‘Confirm’, as simple as that.

Move an entire package in Odoo via a barcode scanner
In case if you need to move an entire package, you need to scan the package first, without scanning the product. So, let’s scan one of packages.

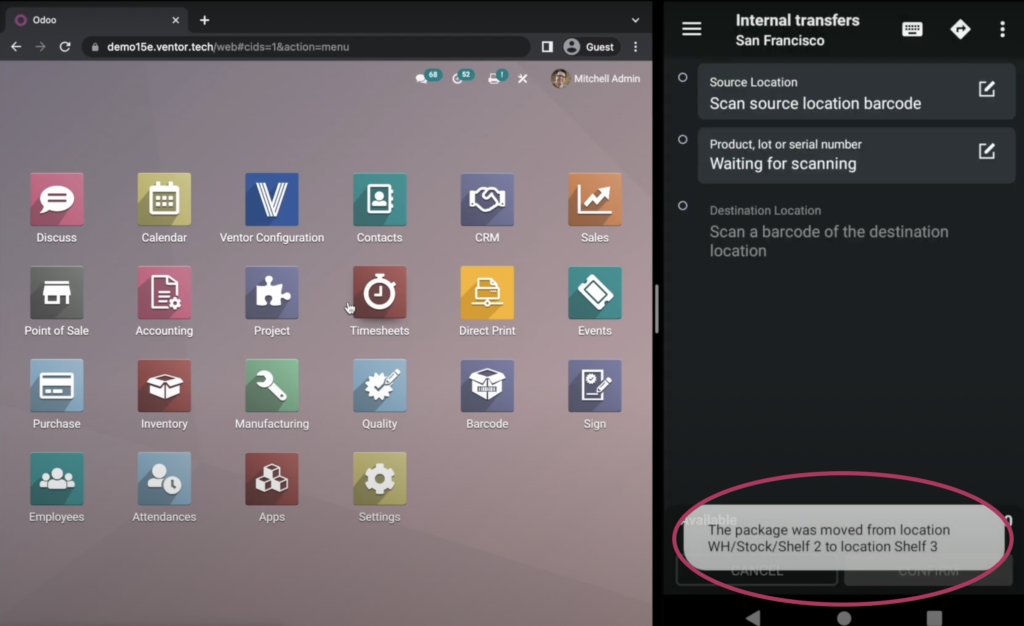
As this package is placed only in one location, ‘Shelf 2’, we won’t need to scan for location; it’s filled in automatically in the first field. Now we can do two things: We can scan the ‘Destination Location’ and simply move the entire package from one location to the new one. If we are going to scan a product that is placed inside this package, then we will be able to move products from the package, so in our case, we move the entire package. We need to scan only a location:
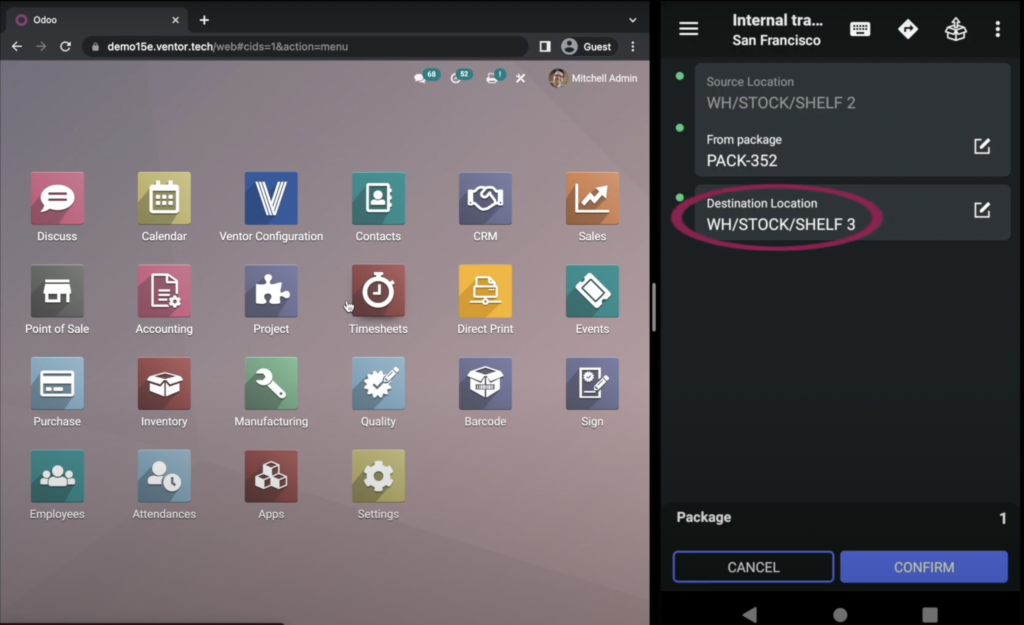
In ‘Shelf 3’, refills are hidden from the interface right now and we can see only the needed one, so we’re going to move PACK-352 from ‘Shelf 2’ to ‘Shelf 3’. Click on ‘Confirm’, and we’re all done.
Move multiple items in Odoo from different locations to the new one via barcode scanner
Let’s check up a ‘Settings’. Click on the 3 dots and then click on ‘Settings’. Here you will see many different settings. Check them out and read the descriptions in the settings. From there, you can get the information you need to activate selections or not.
While in the settings, you can adjust the application according to your business flow. For now, we are looking for ‘Move multiple items’. We want to show you how to move multiple items at once rather than moving them one by one, as we saw before.
Let’s scroll ‘back’, and now you can see that the interface was updated.
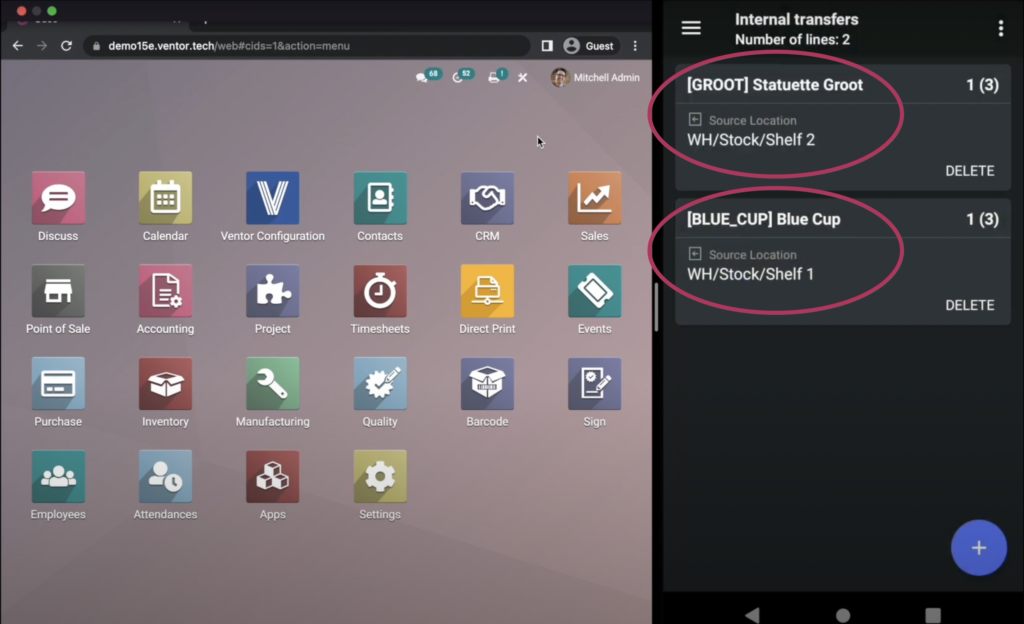
So, we are going to scan two items to move them at the same time. Let’s scan ‘Blue cap’. Here you can see that we need to scan a location to confirm from where we’re going to grab this item.
‘Shelf 1’, and the second product, ‘Groot statuette’, from the ‘Shelf 2’.
Now we can click on the three dots and click ‘Move’ to choose the new location manually, or we can simply scan the new destination location for where we want to move these two items. For our example, we scan ‘Shelf 3’, and then we will see the message ‘Moving items to ‘Shelf 3’ and ‘Move’.
All cases are done! Now you have a good understand of how to use your internal transfer function inside the Ventor application. Feel free to comment below this article.
Ventor: Quick Start Guide – ventor.app/guides/ventor-quick-start-guide/
Ventor complete guide. Introduction – ventor.app/guides/ventor-introduction-guide/
Try Ventor for free
CBDO at VentorTech